Deploy Nextcloud Through Docker
This tutorial will aim to get you set up with a nextcloud server on Ubuntu 16.04 in 5 minutes or less. It is split into two parts, one for setting up the database, and one for deploying the application layer (nextcloud), because the database and the application layer may, or may not be, on the same server. You may wish to use an existing shared database server, which would reduce your memory requirements. The application layer could run comfortably on a server with just 512 MB of RAM, but I would recommend 1 GB if it is also running the database.
Set up the Database
Install mariadb server. I recommend using that tutorial to install 10.1 from a PPA due to the issues I had setting upt th the database from the ubuntu repositories.
Log into the database
mysql -u root -p
Run thee command below to create a database for nextcloud to use.
CREATE DATABASE nextcloud CHARACTER SET utf8mb4 COLLATE utf8mb4_general_ci;
Create a user account on the database for nextcloud to use which only has access to that database. Be sure to change nextcloudUserPassword to something else!.
GRANT all on nextcloud.* to nextcloud identified by 'nextcloudUserPassword';
Now log out of the database with the exit command.
Now we need to configure the database to listen to the outside world, not just localhost.
SEARCH="bind-address"
REPLACE="#bind-address"
FILEPATH="/etc/mysql/my.cnf"
sudo sed -i "s;$SEARCH;$REPLACE;" $FILEPATH
Now configure the database to allow a large prefix
SEARCH="\[mysqld\]"
REPLACE="\[mysqld\]\ninnodb_large_prefix=on"
FILEPATH="/etc/mysql/my.cnf"
sudo sed -i "s;$SEARCH;$REPLACE;" $FILEPATH
We also need to disable bin logging here is why.
SEARCH="log_bin"
REPLACE="#log_bin"
FILEPATH="/etc/mysql/my.cnf"
sudo sed -i "s;$SEARCH;$REPLACE;" $FILEPATH

SEARCH="log_bin_index"
REPLACE="#log_bin_index"
FILEPATH="/etc/mysql/my.cnf"
sudo sed -i "s;$SEARCH;$REPLACE;" $FILEPATH
Restart the database service for the changes to take effect
sudo service mysql restart
Deploy The Nextcloud Container
Install docker on your server if you haven't already.
Now run this command to deploy the nextcloud docker container.
docker run -d \
  --name nextcloud \
  -p 80:80 -p 443:443 \
  -v $HOME/nextcloud:/var/www/html \
  nextcloud:12
Getting Started
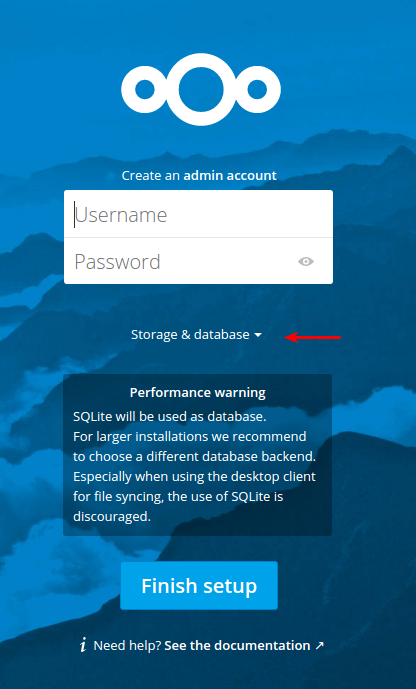
Now that your nextcloud server is running, navigate to your server in your browser, either by entering the hostname or IP into your browser. You should see the screen below. Be sure to click on "Storage & database".
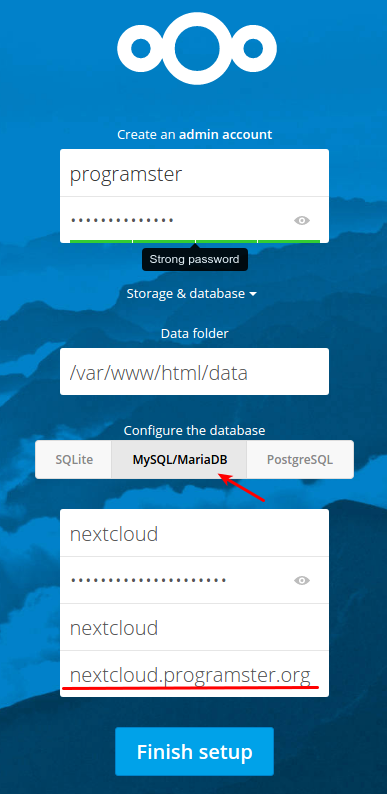
Click on the MySQL/MariaDB option, as that is the database type we deployed. Create a username and password at the top, and be sure to fill in the database details that you used in the first part of this tutorial in the lower section. You cannot use "localhost" or 127.0.0.1 for the host, but need to use the hostname or IP of the server the database is on (even if its the same server).
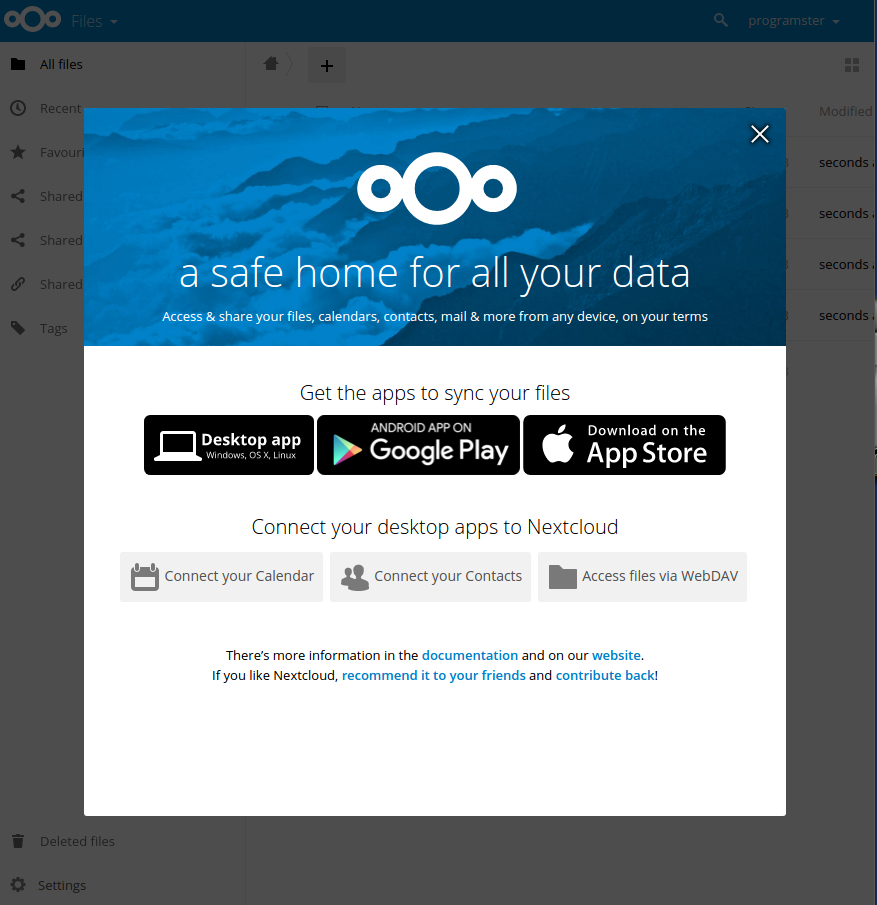
When you have clicked the Finish setup button, you should be in and ready to go.
Taking It Further
You now have a nextcloud server deployed. Unfortunately it will only handle unencrypted HTTP traffic. You may wish to deploy a reverse proxy to add SSL support.
References
First published: 16th August 2018