Deploy Your Own Bitbucket Runner
Runners allows you to run builds in Pipelines on your own infrastructure, and you won’t be charged for the build minutes used by your self-hosted runners. You can deploy your own runners to save money! (and perhaps get better performance). This tutorial will show you how to deploy a runner to run your repository's pipelines.
Steps
1. Deploy a Docker host
- Relevant tutorials: (Debian 11 / Ubuntu 22).
- This host does not necessarily need Docker compose.
- This host can even be behind a NAT as it will be polling Bitbucket, instead of Bitbucket pushing tasks to it.
- Be sure to give it at ample RAM (at least 2GB) for running your tasks, and be sure to disable swap if it is enabled,
by removing it from your
/etc/fstabfile, and runningsudo swapoff -ato immediately remove any swap.
2. Navigate to Runners Section
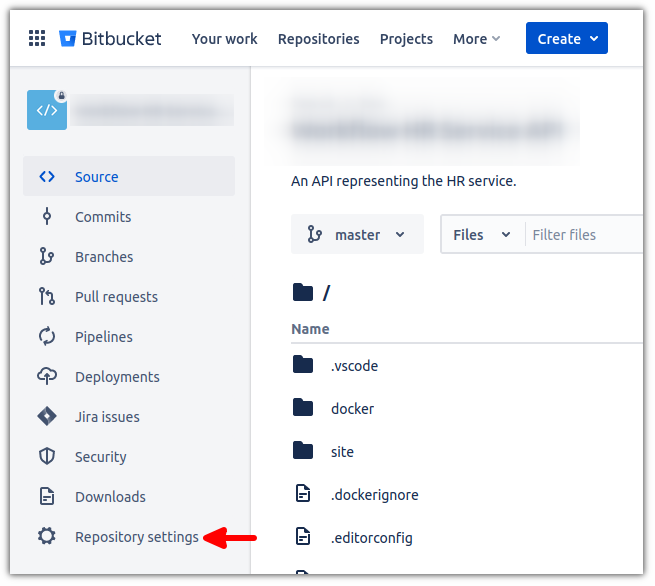
Click on Repository settings in your repository.
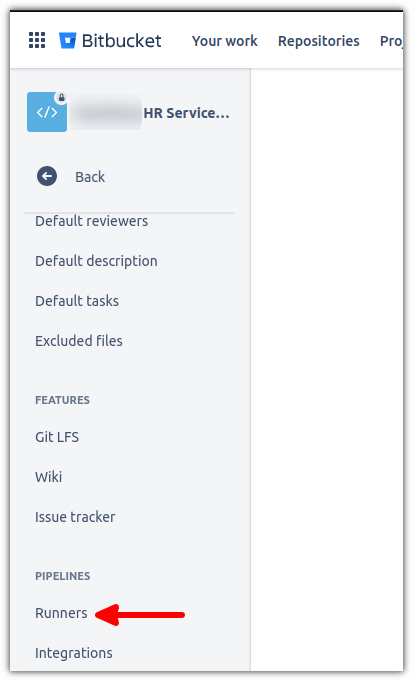
Scroll down and click on Runners.
3. Add Runner
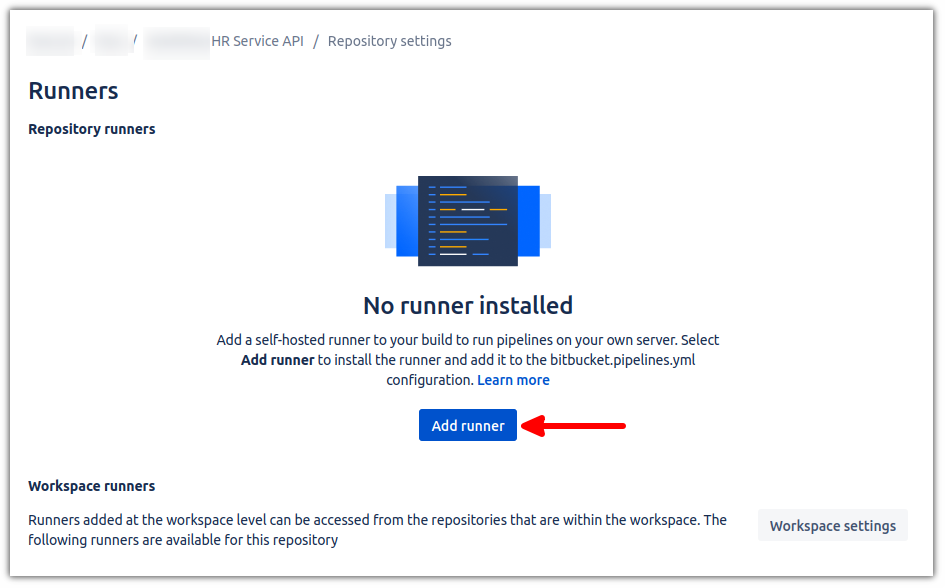
Click the button to Add runner.
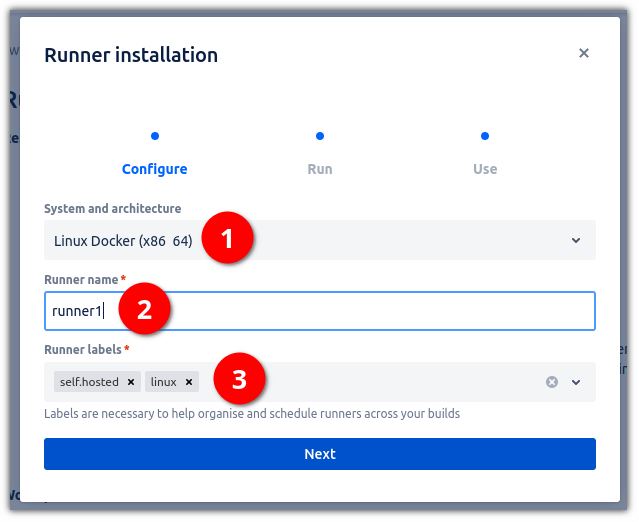
Select your system architecture(1). You will most likely be using Linux Docker (which is what we are using for this tutorial).
Then give it a name (2), and consider adding some labels if you wish to be more selective than the defaults of self.hosted, and linux (3).
Bitbucket will provide you with the command to run docker runner. Click on the clipboard icon to copy the command to your clipboard.
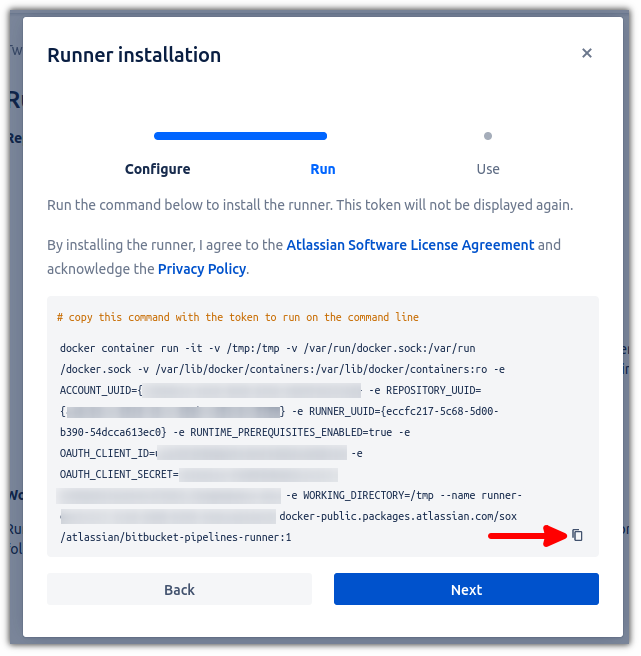
Paste the command into the terminal of your Docker host. This will pull the docker image from Docker hub, and run it with the appropriate settings.
\, and also to swap out the -it with -d to run in detached mode, as well as to add --restart=unless-stopped
to ensure the container will re-launch even if you reboot the server.
4. Update Pipeline File
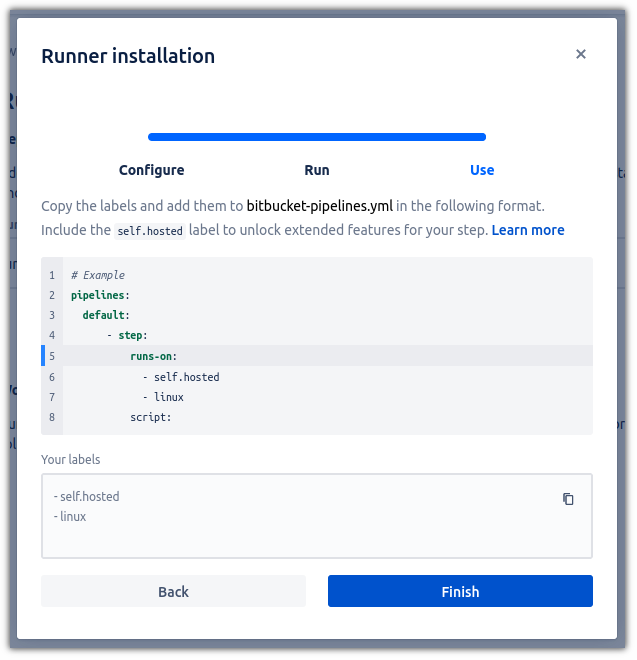
Now press next on the Bitbucket modal, and you will be shown a screen explaining to you that you need to add the runs-on clause to your steps if you wish for them
to run on the docker runner you just started. If you don't do this, the pipeline will try to utilize your Bitbucket plan's build minutes.
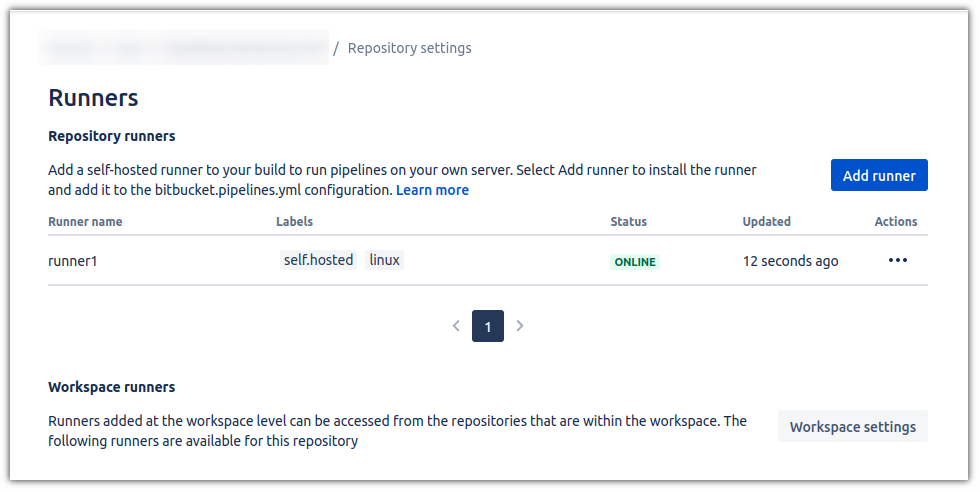
5. Runner Deployed.
Now if you click next, you will be shown that the runner with the name you entered earlier, has been added to the list of runners.
Updating
If you ever wish to update the runner, run the following command to pull down the image:
docker image pull docker-public.packages.atlassian.com/sox/atlassian/bitbucket-pipelines-runner:1
Then remove the existing container before re-deploying.
References
First published: 24th August 2022