Deploy Your Own Mattermost Server
Mattermost is a free self-hosted alternative to Slack. The great thing about it is that (like slack), one can connect a local client to any number of servers. Thus, if you are a contractor working for multiple organizations that each have a Mattermost server, this is not an issue like it is with Teams, as one can be connected to all of the servers at once. It is worth notigng that Mattermost does not support video calls, but one can make regular voice calls (e.g. no webcam).
Prerequisites
This tutorial assumes that you will be pairing this with an existing reverse proxy, and that you are installing Mattermost on a server that already set up with Docker and Docker Compose.
Steps
Create Docker Compose File
Creat a docker-compose.yaml file:
editor docker-compose.yaml
... and fill it with the following content:
version: "3.9"

services:
  mattermost:
    image: mattermost/mattermost-team-edition:${MATTERMOST_VERSION}
    container_name: mattermost
    restart: unless-stopped
    security_opt:
      - no-new-privileges:true
    read_only: false
    tmpfs:
      - /tmp
    volumes:
      - mattermost-config:/mattermost/config:rw
      - mattermost-data:/mattermost/data:rw
      - mattermost-logs:/mattermost/logs:rw
      - mattermost-plugins:/mattermost/plugins:rw
      - mattermost-client-plugins:/mattermost/client/plugins:rw
      - mattermost-bleve-indexes:/mattermost/bleve-indexes:rw
    ports:
      - "80:8065"
      - "443:8443/udp"
      - "443:8443/tcp"
    depends_on:
      - postgres
    environment:
      - TZ
      - MM_SQLSETTINGS_DRIVERNAME=postgres
      - MM_SQLSETTINGS_DATASOURCE=postgres://${DB_USER}:${DB_PASSWORD}@postgres:5432/${DB_NAME}?sslmode=disable&connect_timeout=10
      - MM_BLEVESETTINGS_INDEXDIR=/mattermost/bleve-indexes
      - MM_SERVICESETTINGS_SITEURL=${SITE_URL}

  postgres:
    image: postgres:13-bookworm
    container_name: mattermost-db
    restart: unless-stopped
    security_opt:
      - no-new-privileges:true
    read_only: true
    tmpfs:
      - /tmp
      - /var/run/postgresql
    volumes:
      - ./volumes/db/data:/var/lib/postgresql/data
    environment:
      - TZ
      - POSTGRES_USER=${DB_USER}
      - POSTGRES_PASSWORD=${DB_PASSWORD}
      - POSTGRES_DB=${DB_NAME}


# Specify the named volumes.
# By using named volumes instead of bind mounts, we dont have to worry about performing
# chown --recursive 2000:2000 during the initial setup.
volumes:
  mattermost-data:
  mattermost-config:
  mattermost-logs:
  mattermost-plugins:
  mattermost-client-plugins:
  mattermost-bleve-indexes:
Now we need to create an environment file with our settings:
editor .env
... and fill it with the following content, making sure to review and tweak the values as appropriate:
# Specify which  version of mattermost you wish to use (this will increase with time.)
MATTERMOST_VERSION="9.1"


# Specify your site's URL. This should start with https://
SITE_URL="https://mattermost.mydomain.com"


# Container settings
## Timezone inside the containers. The value needs to be in the form 'Europe/Berlin'.
## A list of these tz database names can be looked up at Wikipedia
## https://en.wikipedia.org/wiki/List_of_tz_database_time_zones
TZ=Europe/London


# Specify your desired database settings.
DB_USER=mattermost
DB_PASSWORD=setThisToSomeRandomString
DB_NAME=mattermost


# Set the compose project name, so namespacing isn't derived from the parent folder name which could change.
# You should not need to change this.
# https://docs.docker.com/compose/environment-variables/envvars/#compose_project_name
COMPOSE_PROJECT_NAME="mattermost"
Run!
Now lets launch our Mattermost server by running:
docker compose up -d
docker-compose up -d instead depending on your setup.
Configure Reverse Proxy
If you are running Nginx proxy manager, then at this point you should configure the host, and have it generate the SSL certificate.
If you are running your own manually configured Nginx proxy, then attached is an example site configuration that you could use:
upstream mattermostBackend {
   server xxx.xxx.xxx.xxx:80; # CHANGE ME - Your mattermost server IP
   keepalive 32;
}

proxy_cache_path /var/cache/nginx levels=1:2 keys_zone=mattermost_cache:10m max_size=3g inactive=120m use_temp_path=off;

server {
    listen          80;
    server_name     mattermost.mydomain.com; # CHANGE ME - Your mattermost FQDN
    return 302      https://$server_name$request_uri;
}

server {
    listen 443 ssl http2;
    server_name     mattermost.mydomain.com; # CHANGE ME - Your mattermost FQDN
    access_log      /var/log/nginx/mattermost.mydomain.com-access.log;

    http2_push_preload on; # Enable HTTP/2 Server Push

    # CHANGE ME - Specify paths to your SSL certificate files here.
    ssl_certificate         ssl/mattermost.mydomain.com/site.crt;
    ssl_certificate_key     ssl/mattermost.mydomain.com/private.pem;

    # Enable TLS versions (TLSv1.3 is required upcoming HTTP/3 QUIC).
    ssl_protocols   TLSv1.2 TLSv1.3;

    # Enable TLSv1.3's 0-RTT. Use $ssl_early_data when reverse proxying to
    # prevent replay attacks.
    #
    # @see: https://nginx.org/en/docs/http/ngx_http_ssl_module.html#ssl_early_data
    ssl_early_data on;

    ssl_ciphers                 'ECDHE-ECDSA-AES256-GCM-SHA384:ECDHE-RSA-AES256-GCM-SHA384:ECDHE-ECDSA-CHACHA20-POLY1305:ECDHE-RSA-CHACHA20-POLY1305:ECDHE-ECDSA-AES256-SHA384:ECDHE-RSA-AES256-SHA384';
    ssl_prefer_server_ciphers   on;
    ssl_session_cache           shared:SSL:50m;
    ssl_session_timeout         1d; # Enables or disables session resumption through TLS session tickets.

    # HSTS (ngx_http_headers_module is required) (15768000 seconds = six months)
    add_header  Strict-Transport-Security max-age=15768000;

    # OCSP Stapling ---
    # fetch OCSP records from URL in ssl_certificate and cache them
    ssl_stapling on;
    ssl_stapling_verify on;

    add_header X-Early-Data $tls1_3_early_data;

    location ~ /api/v[0-9]+/(users/)?websocket$ {
       proxy_set_header Upgrade $http_upgrade;
       proxy_set_header Connection "upgrade";
       client_max_body_size 50M;
       proxy_set_header Host $http_host;
       proxy_set_header X-Real-IP $remote_addr;
       proxy_set_header X-Forwarded-For $proxy_add_x_forwarded_for;
       proxy_set_header X-Forwarded-Proto $scheme;
       proxy_set_header X-Frame-Options SAMEORIGIN;
       proxy_buffers 256 16k;
       proxy_buffer_size 16k;
       client_body_timeout 60;
       send_timeout 300;
       lingering_timeout 5;
       proxy_connect_timeout 90;
       proxy_send_timeout 300;
       proxy_read_timeout 90s;
       proxy_http_version 1.1;
       proxy_pass http://mattermostBackend;
   }

    location / {
        client_max_body_size 50M;
        proxy_set_header Connection "";
        proxy_set_header Host $http_host;
        proxy_set_header X-Real-IP $remote_addr;
        proxy_set_header X-Forwarded-For $proxy_add_x_forwarded_for;
        proxy_set_header X-Forwarded-Proto $scheme;
        proxy_set_header X-Frame-Options SAMEORIGIN;
        proxy_buffers 256 16k;
        proxy_buffer_size 16k;
        proxy_read_timeout 600s;
        proxy_cache mattermost_cache;
        proxy_cache_revalidate on;
        proxy_cache_min_uses 2;
        proxy_cache_use_stale timeout;
        proxy_cache_lock on;
        proxy_http_version 1.1;

        proxy_pass http://mattermostBackend;
    }
}

# This block is useful for debugging TLS v1.3. Please feel free to remove this
# and use the `$ssl_early_data` variable exposed by NGINX directly should you
# wish to do so.
map $ssl_early_data $tls1_3_early_data {
  "~." $ssl_early_data;
  default "";
}
# CHANGE ME comment everywhere you need to set values.
Create Admin Account
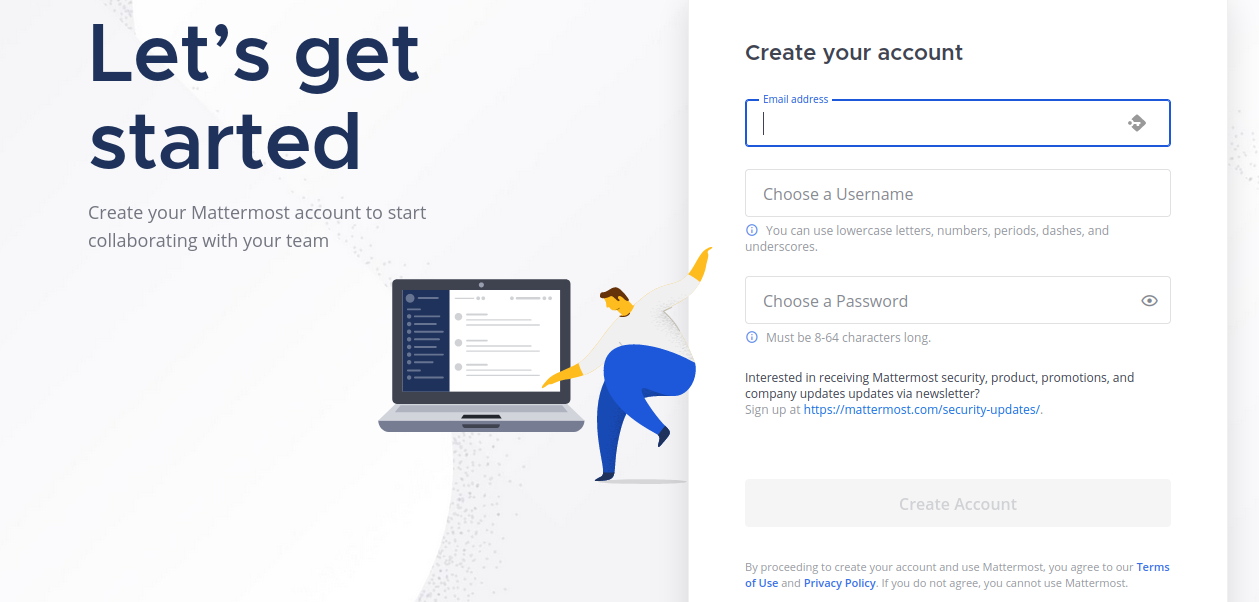
At this point, you should now be able to navigate to your Mattermost server in your web browser and see the signup page as shown below. Go ahead and create an account. This first account will become the administrator account.
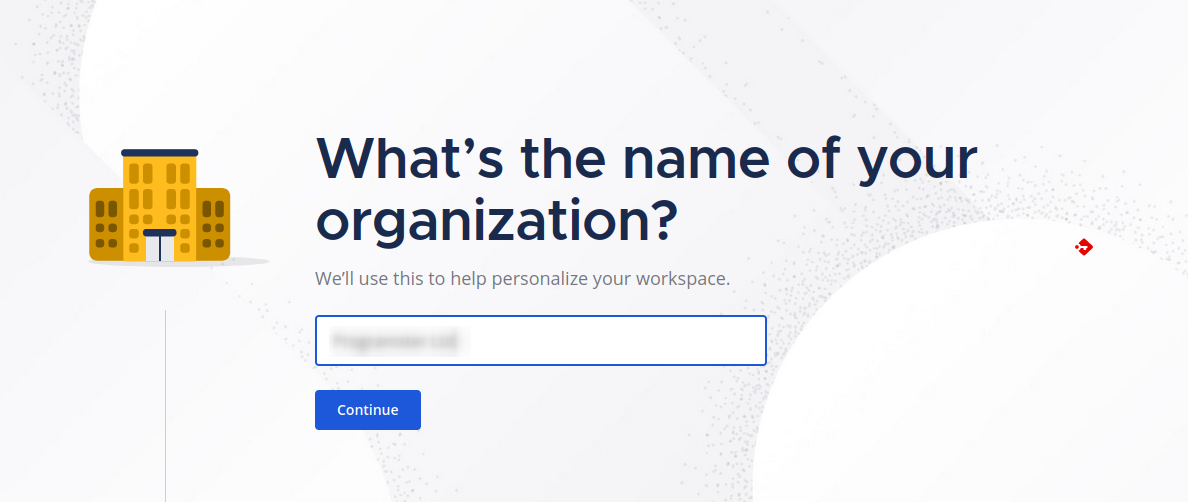
Enter the name for your organization:
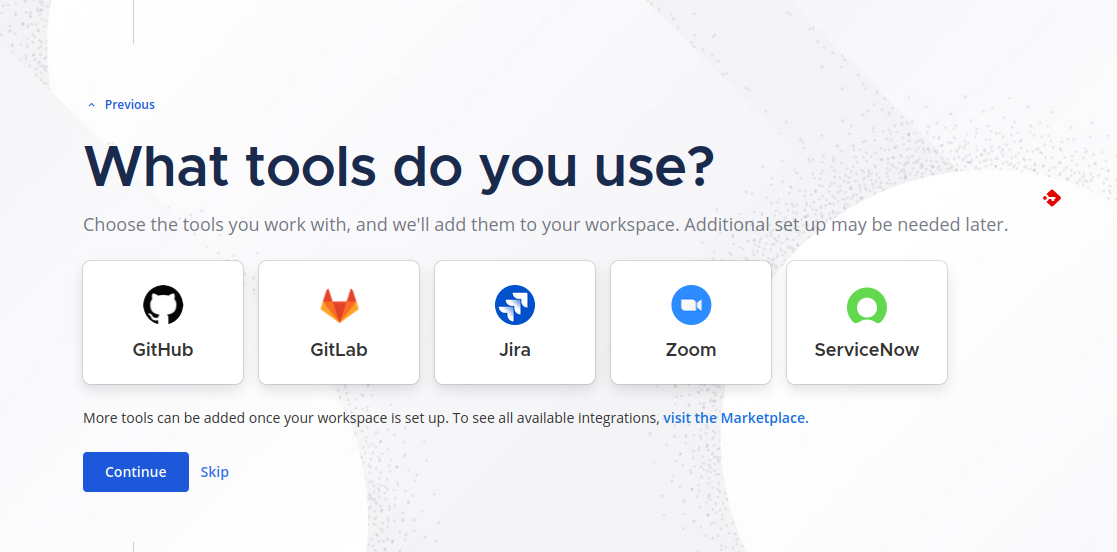
Feel free to link other tools. I just hit skip for now:
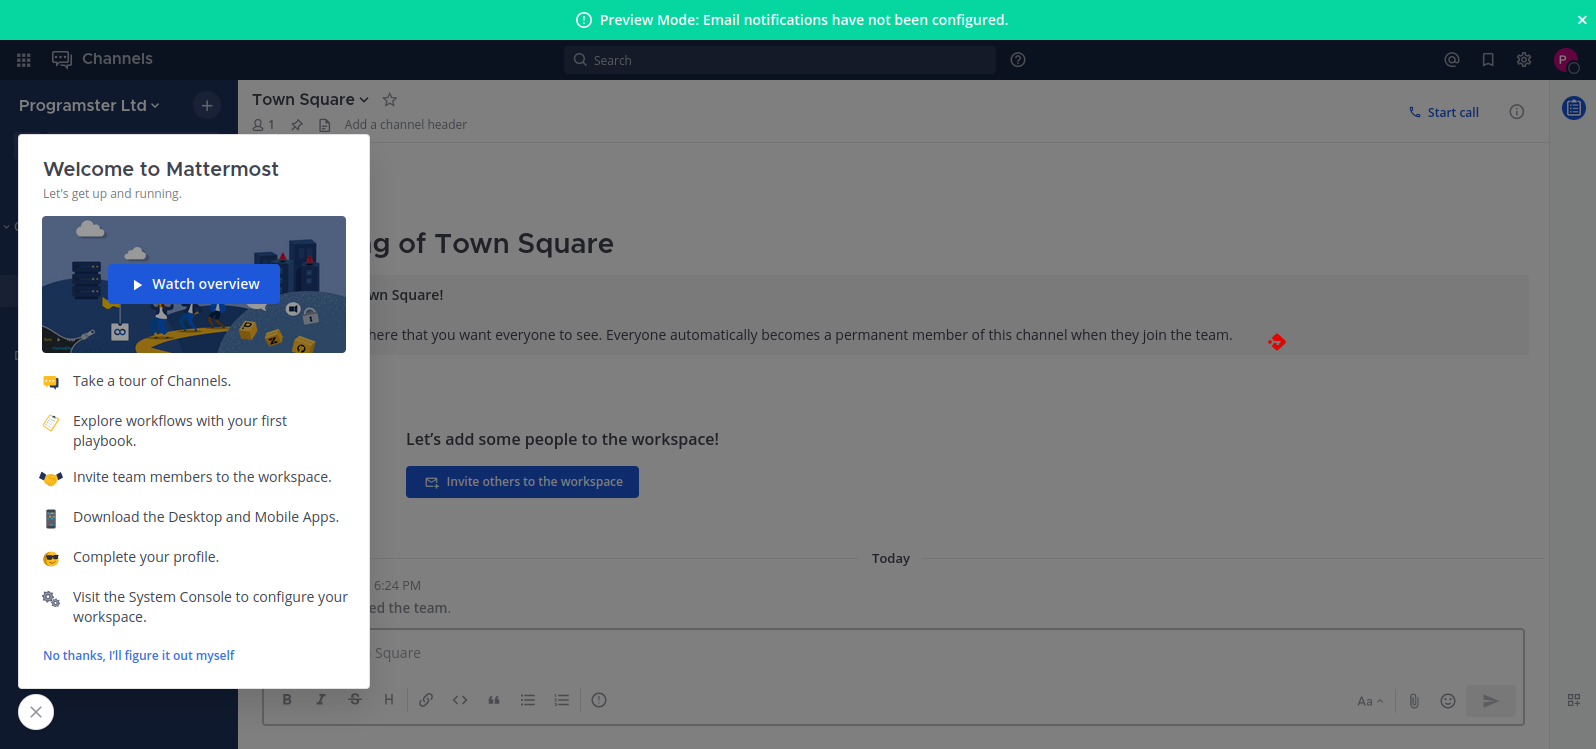
Feel free to send invites to team members, but I hit skip for now as I want to configure SMTP first (which we will cover later),
and then manually add them.

Finally, you will be logged in and see this screen:
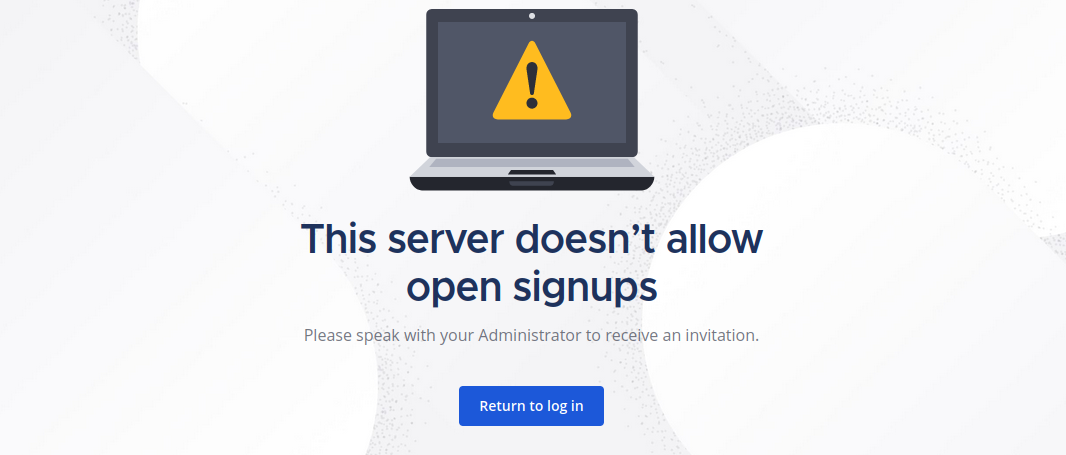
User Registration Now Disabled
It is worth noting that after you have finished creating your account the registration page you had earlier will stop working (shown below) to prevent users registering that you don't want.
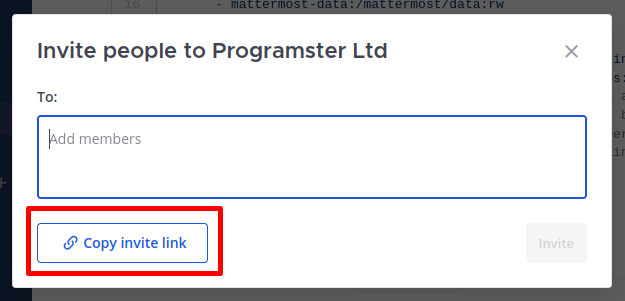
In order to have a user register, just click on Invite Members:

... and then in the modal, click on Copy invite link. Then just send that link to whoever you wish to have sign up.
Configure SMTP (Emails)
To input your SMTP credentials, click on the icon in the top-left corner and then System Console.

Then search for "SMTP" (1) and fill in the form (2). Be sure to test your connection (3) before saving (4).

References
First published: 2nd November 2023