FreeNAS - Create A Volume
Before you can create any network shares in FreeNAS, we need to create volumes to put them in. A volume is just an area to store data that can span multiple disks in varioud RAID layouts to provide redundancy and/or speed. This post will not cover what RAID is, but will focus on getting a single volume configured onto just one of our disks (thus not using RAID). This is because we are going to use one disk for shares, and another disk for backups.
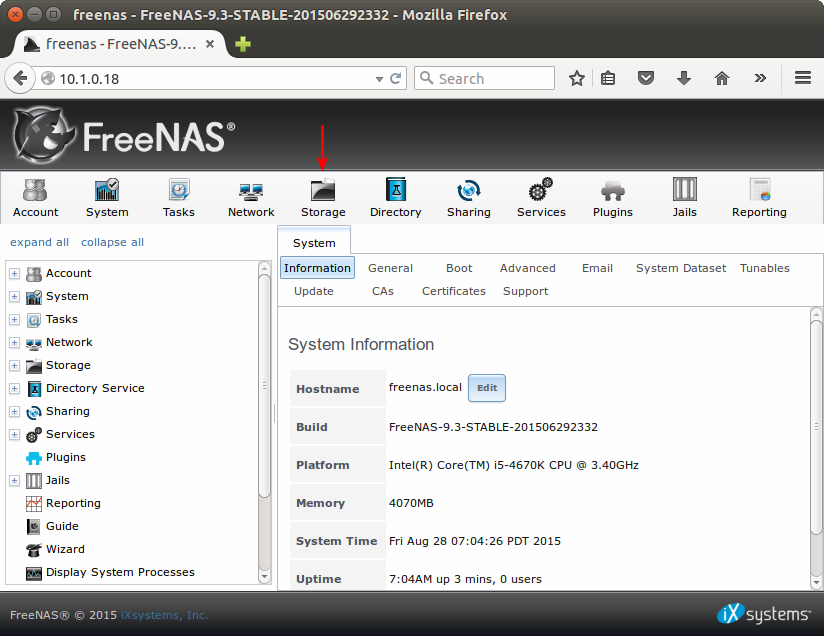
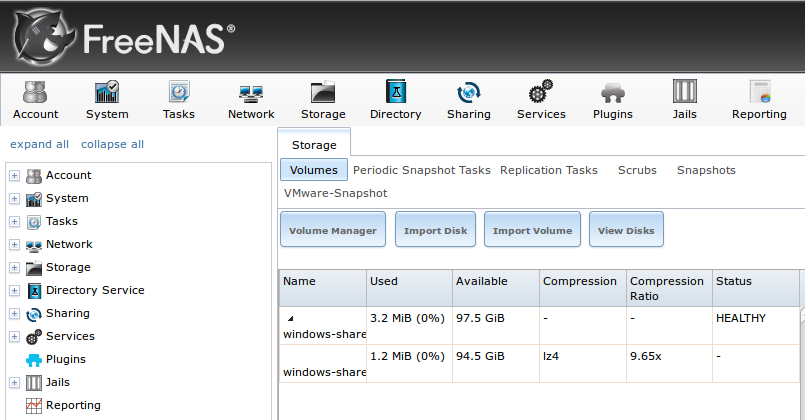
CLick the Storage button at the top of the webpage.
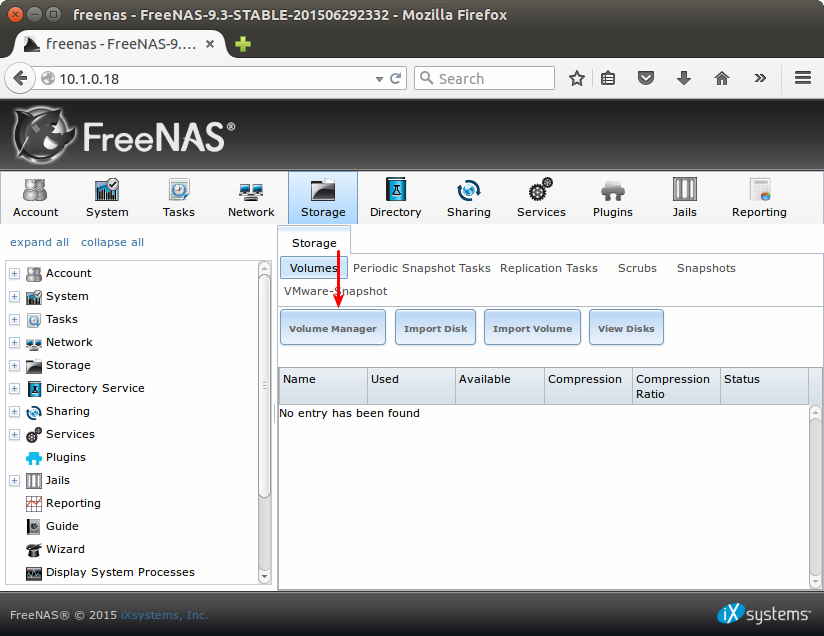
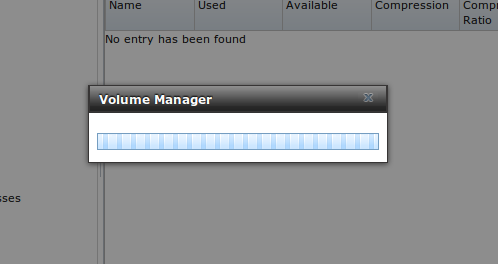
Then click the Volume Manager button.
Give your volume a name and click the + button under Available disks to add disks to the volume.
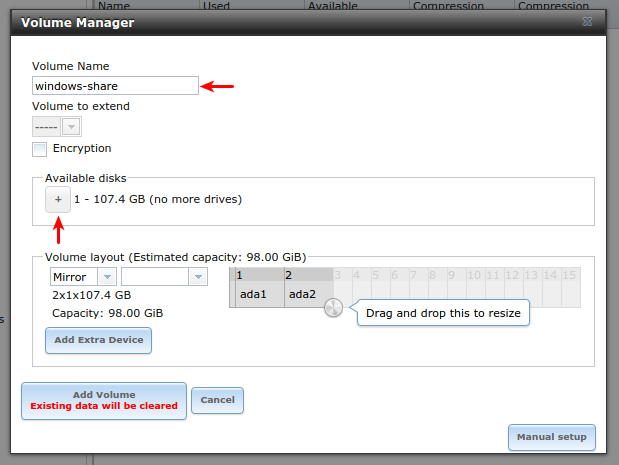
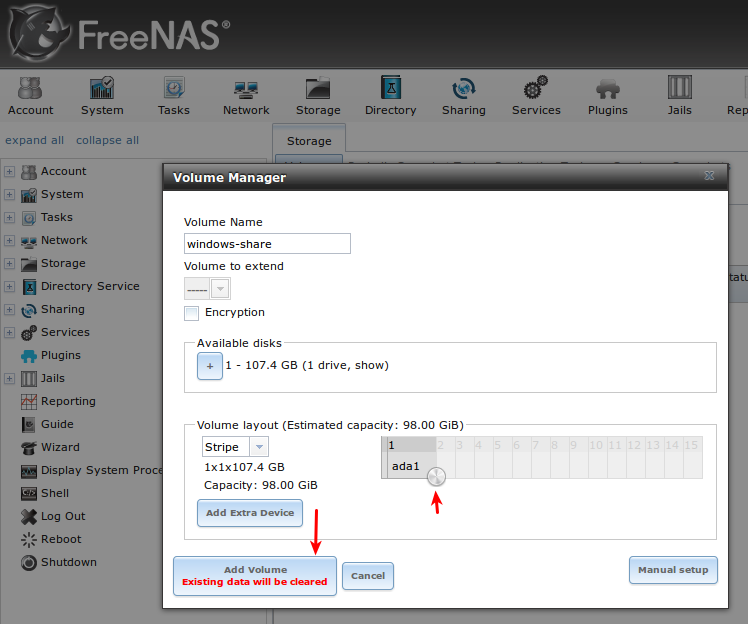
Now drag the slider so only one physical disk is going to be used. Then click Add Volume.
You will need to wait for a period of time.
You should now see your new Volume in the Volume Manager.
First published: 16th August 2018