Installing Debian 13 Using Hetzner's Rescue System
Introduction
This tutorial will show you how to install Debian 13 using Hetzner's rescue system, although you could easily use this guide to install any of the other distributions that Hetzner's rescue system supports.
Steps
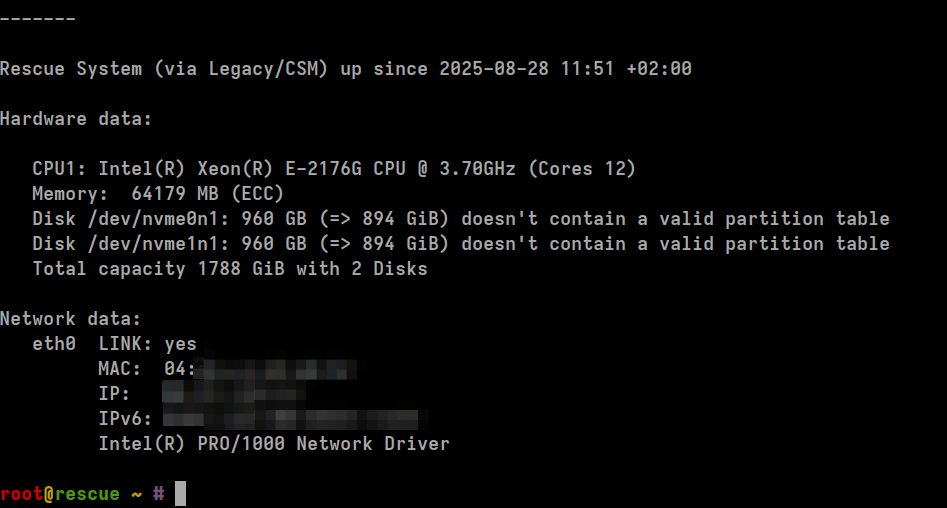
When you SSH into the server that has been booted into the rescue system, you will see something like below:
Run the installimage command:
installimage
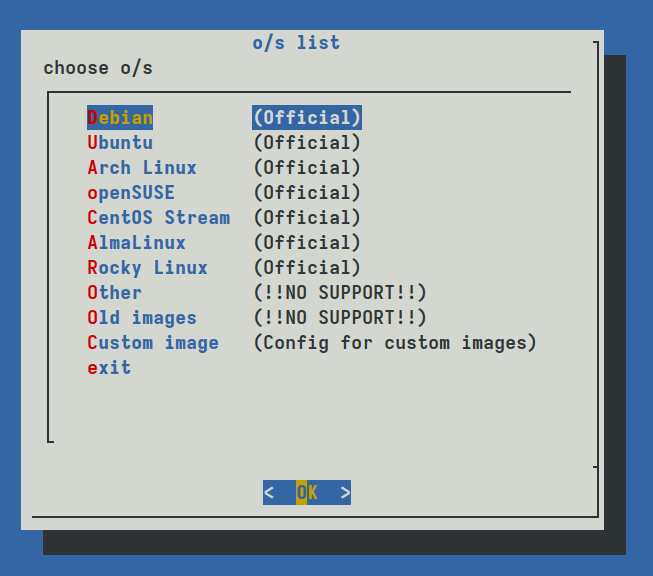
At the menu make sure Debian is highlighted and press enter.
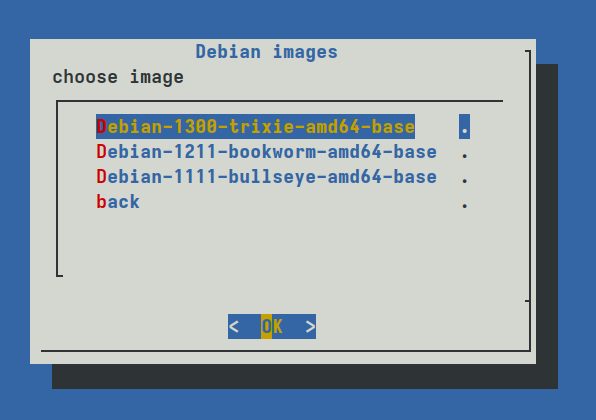
Select Debian-1300-trixie and press enter.
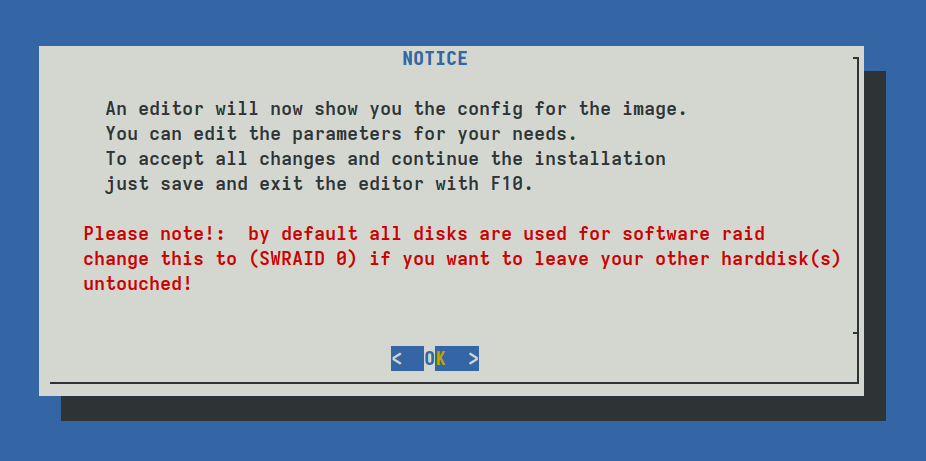
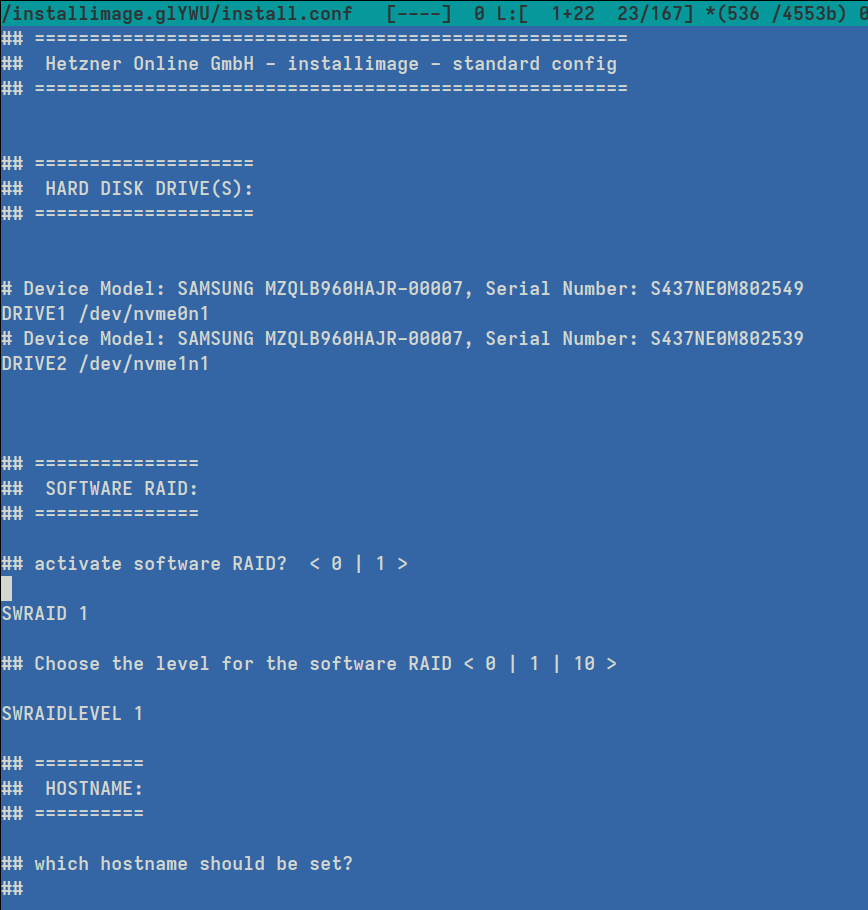
Read the warning message about wiping disks and defaulting to using all disks for software RAID.
You will be shown a default configuration. For me this is simple as I have chosen a server with 2 of the same drive, and I do just want it set up with the default layout of just software RAID 1 across the entireity of both drives.
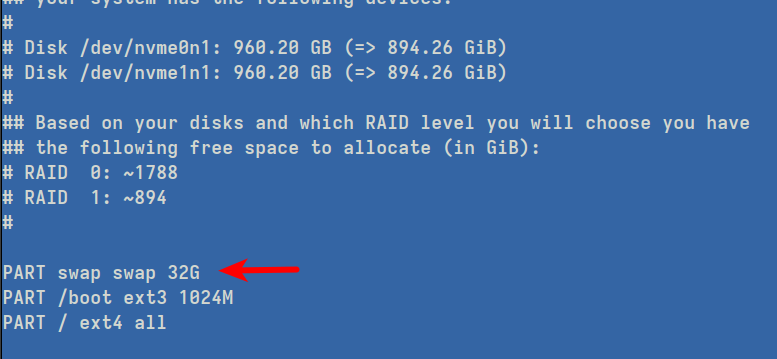
Navigate down until you find the partitions like so. I do not want to have a 32 GB swap partition,
and will add swap later if I want it, so I am going to delete that line and just leave the /boot and / lines in.
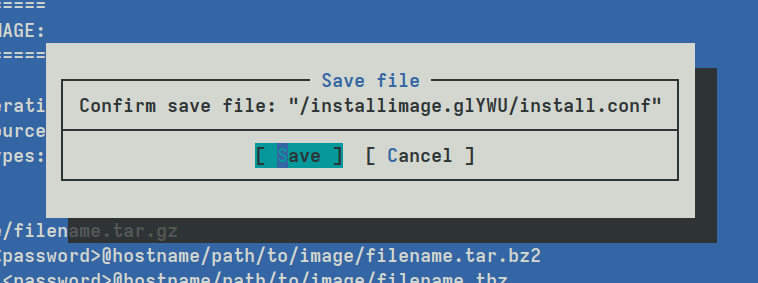
When finished, click on Save with your mouse button

...and then confirm the save when the modal appears.
Then press the Quit button.

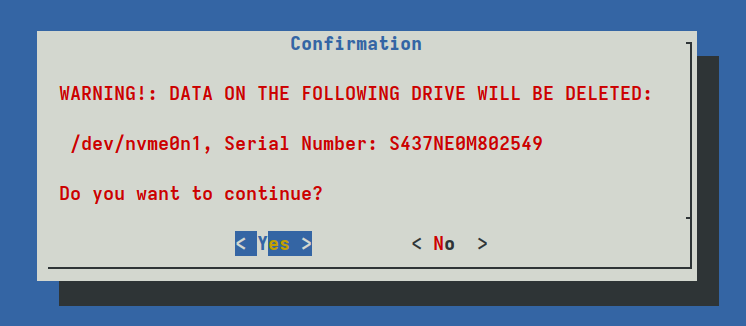
Confirm that you are aware that data will be deleted. You will have to repeat this for each device/partition that will be deleted.
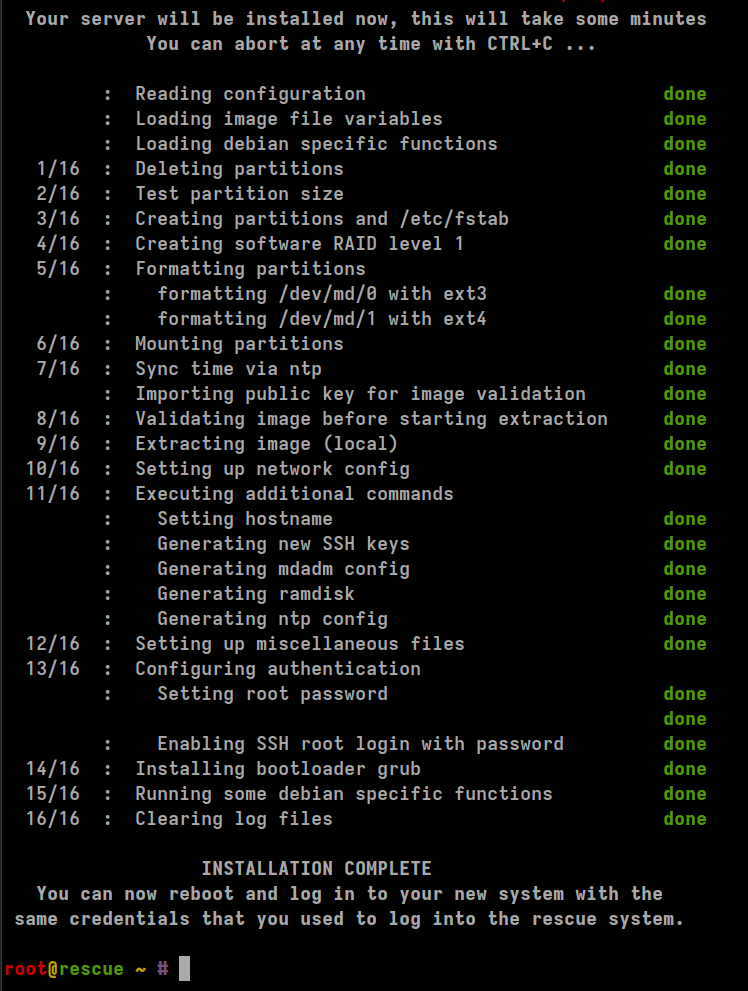
The script will then perform the installation steps, and when finished will tell you to reboot and log into the system with the same credentials you used to enter the rescue system.
Run the reboot command:
reboot
The reboot is likely to take a while, so I would suggest running the ping command against the IP until you see it returning.
Conclusion
You now have a Debian 13 system installed. You may now wish to follow my guide on how to install Proxmox on Debian 13.
First published: 29th August 2025