Rancher - Add A Custom Host
In this tutorial, we are going to add a docker host for our Rancher server to manage. This means that you need another server or virtual machine, but do not install docker on it just yet.
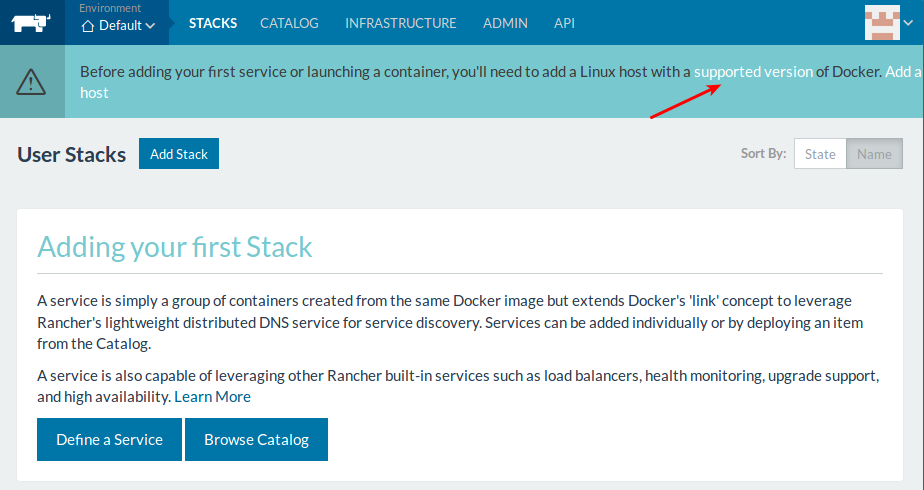
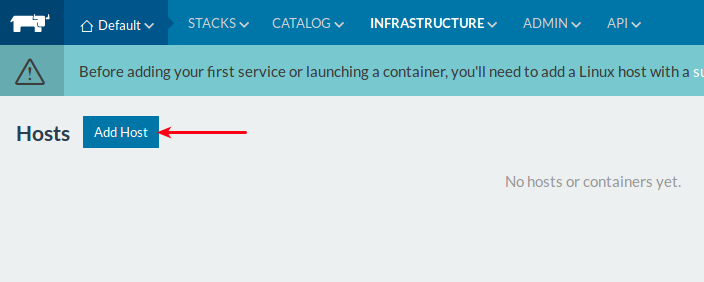
After setting up rancher, and configuring authentication, you will see a teal prompt at the top telling you that you need to add a linux host with a supported version of docker. Click the supported version link.
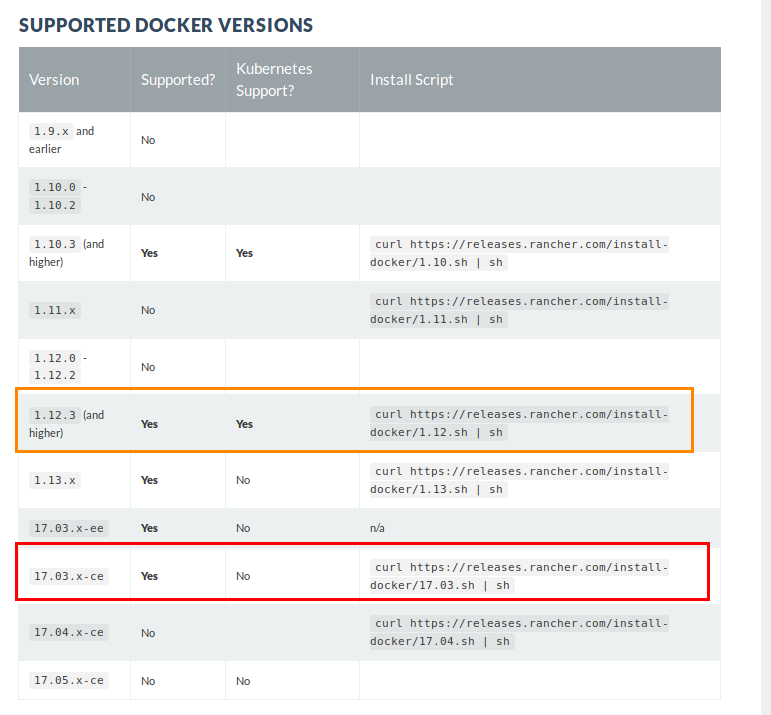
You will be taken to a page that shows you a table of versions of docker, and whether it is supported by Rancher and whether it is supported by Kubernetes. For this tutorial, I do not plan on setting up a Kubernetes cluster just yet, so I am going to copy the curl script for the last supported version which I highlighted in red. If you need to set up a Kubernetes cluster, use the script in orange.
Execute the curl script on your new host to install the relevant version of docker.
docker --version to check that the correct version was installed.
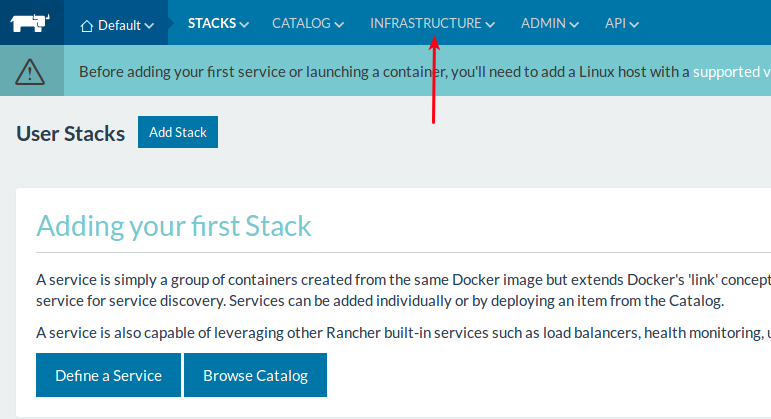
Click on Infrastructure in the navigation bar...
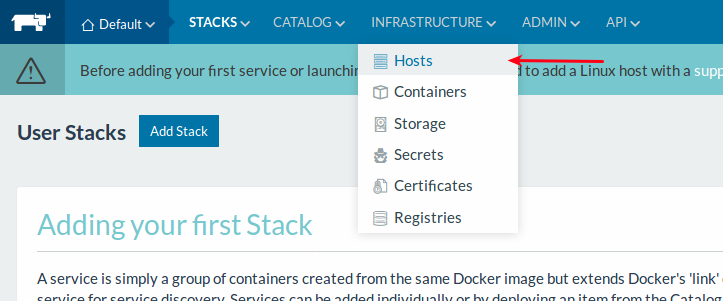
... and then click Hosts.
Click the button Add Host.
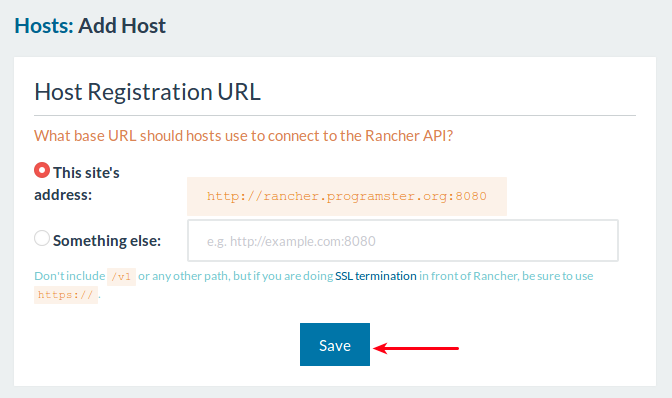
You will be taken to the Add Host page. I want my host to connect to my rancher server on it's public hostname so I am going to leave this page's settings as they are. However, you could click Something else here, if you want it to connect on an internal, private IP which would be somewhat better. Click Save.
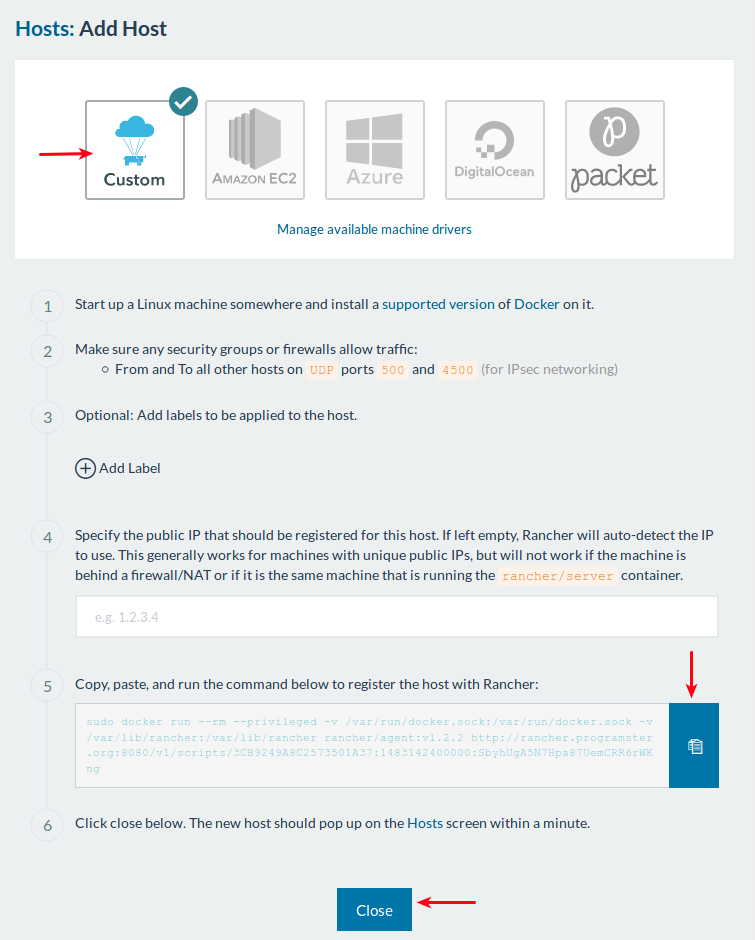
Because I am using local KVM virtual machines that I have already deployed, I am going to click Custom. If you were using bare-metal, or VirtualBox instances, you would also want to choose this option. If you are using common cloud providers, such as AWS or DigitalOcean, you can configure Rancher deploy these servers for you, but we will cover that another day.
You may wish to click Add Label to give your host a name inside Rancher.
If you are using a service where the public IP may not be obvious inside the VM, such as if you are using a NAT or "floating IP", you may wish to specify the public IP in step 4.
Finally click the clipboard button to copy the necessary command to your clipboard.
Execute the copied command in the docker host you wish to be managed by Rancher. After having executed the copied snippet on your docker host, you should end up with output similar to below:
...
INFO: ENV: DETECTED_CATTLE_AGENT_IP=10.1.0.122
INFO: ENV: RANCHER_AGENT_IMAGE=rancher/agent:v1.2.2
INFO: Launched Rancher Agent: 840b27f5125e860da1328e60d4dc022b8a2d219feb95b64ced0b6ecc3abf4775
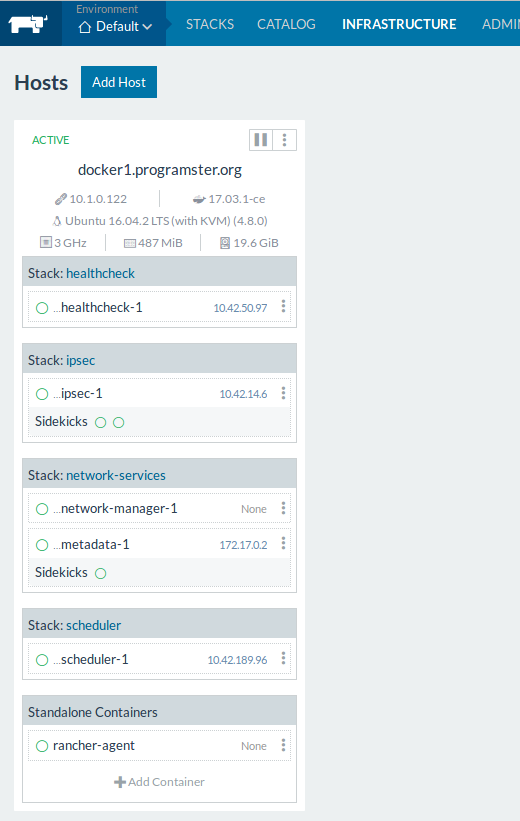
You should now be on the hosts page and see your newly added host.
First published: 16th August 2018