Deploy Hashicorp Vault through Docker
In this tutorial we will cover how to deploy Vault (by Hashicorp) through the use of Docker. This will lead onto future tutorials where we then make use of Vault in order to manage application secrets, as well as managing SSH access to servers through the use of temporary certificates .
Prerequisites
I will assume that you are setting up a Vault server on a domain that you own and have generated SSL/TLS certificates for, such as vault.mydomain.com. If you do not have a domain, you will need to generate self-signed certificates for the IP address of the server.
Steps
Preparation
First let's create an area for Vault to work within. For this tutorial, we are going to work within /opt/vault:
# Create a directory for vault that we can work within
sudo mkdir /opt/vault
sudo chown $USER:$USER /opt/vault

# Create a directory that will hold our SSL certificates (empty files for now).
mkdir -p /opt/vault/volumes/ssl
touch /opt/vault/volumes/ssl/site.crt
touch /opt/vault/volumes/ssl/private.pem

# Create a folder that will act as a file-based storage backend for Vault
mkdir -p /opt/vault/volumes/file-backend

# Create an empty file that will contain our configuration for Vault soon.
touch /opt/vault/volumes/config.json

# Create an empty file that will contain our Docker Compose configuration.
touch /opt/vault/docker-compose.yaml
Create Vault Configuration
Place the following content within the file we created at /opt/vault/volumes/config.json:
{
    "default_lease_ttl": "168h",
    "max_lease_ttl": "720h",
    "ui": true,
    "api_addr": "https://vault.mydomain.com:8200",
    "backend": {
        "file": {
            "path": "/vault/file"
        }
    },
    "listener": [
        {
            "tcp": {
                "address": "0.0.0.0:8200",
                "tls_disable": "0",
                "tls_cert_file": "/ssl/site.crt",
                "tls_key_file": "/ssl/private.pem"
            }
        }
    ]
}
PHP Config Generation
If you wanted to generate the config using PHP for whatever reason, the script is below:
<?php
$API_PORT = 8200;
$FQDN = "vault.mydomain.com"; # Specify the fully qualified domain name (or IP address) for your server

$config = [
    "default_lease_ttl" => "168h",
    "max_lease_ttl" => "720h",
    "ui" => true,
    "api_addr" => "https://{$FQDN}:{$API_PORT}",
    "backend" => [
        "file" => [
            "path" => "/vault/file"
        ]
    ],
    "listener" => [
        [
            "tcp" => [
                "address" => "0.0.0.0:{$API_PORT}",
                "tls_disable" => "0",
                "tls_cert_file" => "/ssl/site.crt",
                "tls_key_file" => "/ssl/private.pem",
            ]
        ]
    ],
];

echo json_encode($config, JSON_PRETTY_PRINT | JSON_UNESCAPED_SLASHES) . PHP_EOL;
Create Docker Compose Configuration
Place the following content within the file we created at /opt/vault/docker-compose.yaml:
---
version: "3.6"
services:
  vault:
    image: vault:1.13.1
    container_name: vault
    restart: unless-stopped
    ports:
    - 8200:8200
    - 8201:8201
    environment: []
    cap_add:
    - IPC_LOCK
    volumes:
    - ./volumes/config.json:/vault/config/local.json:ro
    - ./volumes/ssl/:/ssl:ro
    - ./volumes/file-backend:/vault/file
    healthcheck:
      retries: 5
    command: server
...
PHP Generation Script
If you want the PHP for generating the above YAML configuration, it is as follows:
<?php

$VAULT_VERSION = "1.13.1";
$API_PORT = 8200;

$clusterPort = $API_PORT + 1; # Vault automatically sets the cluster port this way.

$vaultService = [
    'image' => "vault:{$VAULT_VERSION}",
    'container_name' => 'vault',
    'restart' => 'unless-stopped',
    'ports' => [
      "{$API_PORT}:{$API_PORT}", #
      "{$clusterPort}:{$clusterPort}", # default port for vault server-to-server requests
    ],
    'environment' =>[
    ],
    'cap_add' => [
        'IPC_LOCK',
    ],
    'volumes' => [
        './volumes/config.json:/vault/config/local.json:ro',
        './volumes/ssl/:/ssl:ro', # directory containing read-only SSL certificates.
        './volumes/file-backend:/vault/file', # file based backend. Remove this if not using file based backend.
    ],
    'healthcheck' => [
      'retries' => 5
    ],
    'command' => 'server'
];

$config = [
    'version' => "3.6",
    'services' => [
        'vault' => $vaultService
    ],
];

print yaml_emit($config) . PHP_EOL;
Initialize Vault
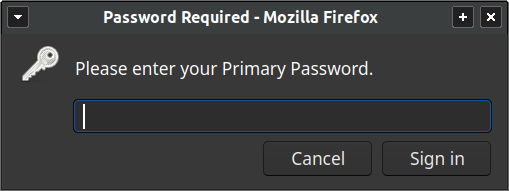
Navigate to https://vault.mydomain.com:8200 (assuming this points to the IP of your machine/server), and you may be prompted to enter your primary password for your browser (I was in Firefox, but not Chromium).
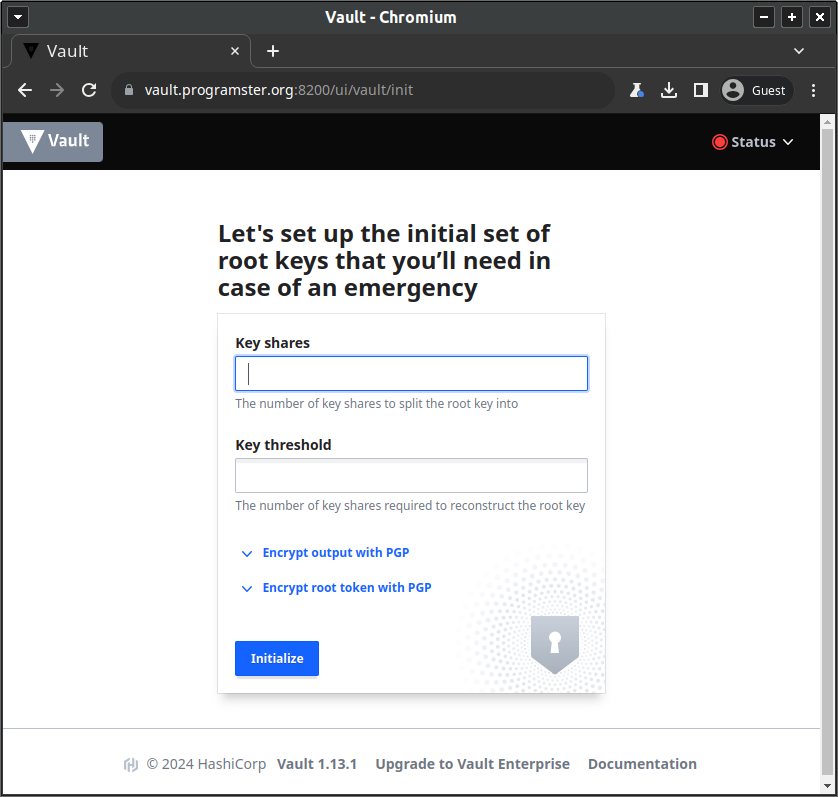
You will be shown the following screen on first setup, which will be for creating our initial root key, specifying how many shares it should be split into, and how many shares need to be provided in order to be able to reproduce it (Shamir's secret sharing).
After having created the root key and the shares, you will be shown a screen similar to below. Make sure to click the button to Download keys in the bottom-right corner as you will need those details in the future steps. You will need to securely distribute the individual keys to the people you trust to unseal the vault in future, and the master token probably needs to be stored in something like Passbolt for the administrator(s) to use.

Unseal The Vault
Once you have created your root key shares, you will be prompted to use them to unseal the vault:

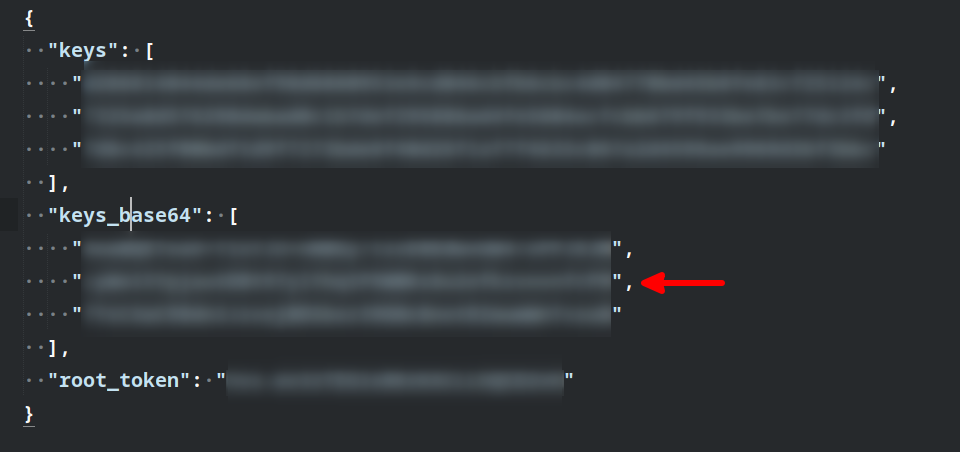
All you need to do is copy and paste the required number of keys from this section of the config file you were
asked to download when having generated the keys:
Login
After having unsealed the vault, you will then be asked to sign in. The default method selected being Token as shown below:

If you click on the dropdown, you will see that there is a wide range of authentication backends that Vault can be configured with to use, for which LDAP, and OIDC stand out to me, and may likely be the subject of a future tutorial.

For now, we need to just select Token as we
have not yet had the opportunity to configure any authentication backends.

You need to enter the token that was provided in the download file from earlier, as shown below:
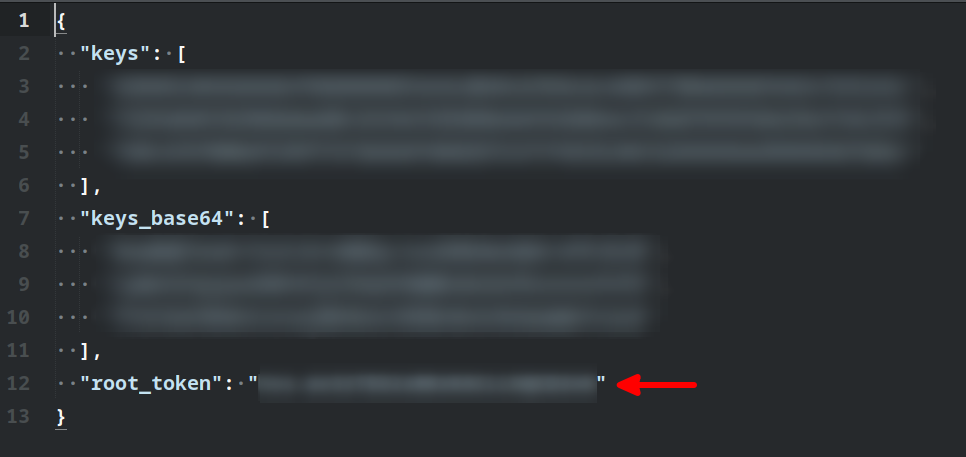
You are now logged into your very own Vault system.

Conclusion
You have now deployed your very own Vault system through Docker. In future tutorials we will show you how you could configure other storage backends, other authentication mechanisms (such as username/password), use Vault for storing and retrieving secrets, and how to configure Vault to manage SSH access to your servers.
References
- Medium - Setup HashiCorp Vault on docker
- Vault Docs - Signed SSH Certificates
- Dockerhub - Vault
- Vault Docs - Configuration
First published: 16th February 2024