Getting Started With Grafana
When people talk about Graphite and show it to you, you are often shown a web UI through the Grafana tool rather than Graphite's own UI. This is because it is far sexier and nicer to create graphs with. However, just remember that Grafana is its own separate tool that we will use to hook up to Graphite, but it can also be plugged into other data sources as well.
This tutorial will show you how to get set up with Grafana as if you have just deployed Graphite through my previous tutorial.
Deploy
Deploy Grafana through docker with the following commands
mkdir $HOME/docker-volumes/grafana
USER_ID=$(id -u)

docker run -d \
  --user $USER_ID \
  --volume "$HOME/docker-volumes/grafana:/var/lib/grafana" \
  -p 3000:3000 \
  grafana/grafana:5.1.4
Login
Using your browser, go to your server's IP or hostname in your browser on the port 3000. E.g.
http://monitoring.programster.org:3000
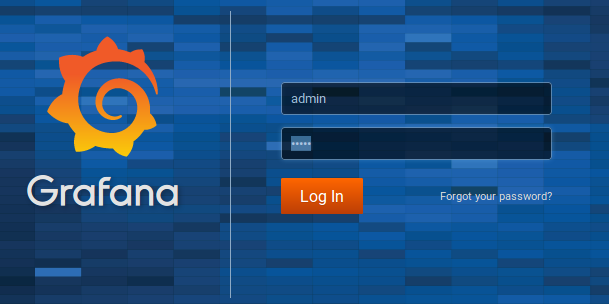
You will be presented with a login page. Use the default credentials to log in for the first time:
- username: admin
- password: admin
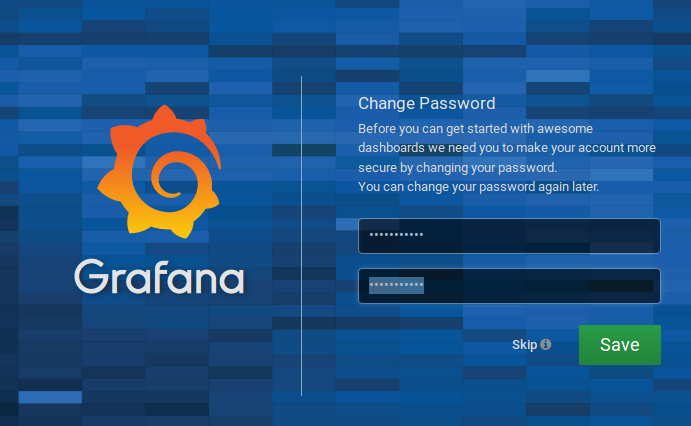
Change The Default Password
Once you have logged in, you will then be prompted to change your password.
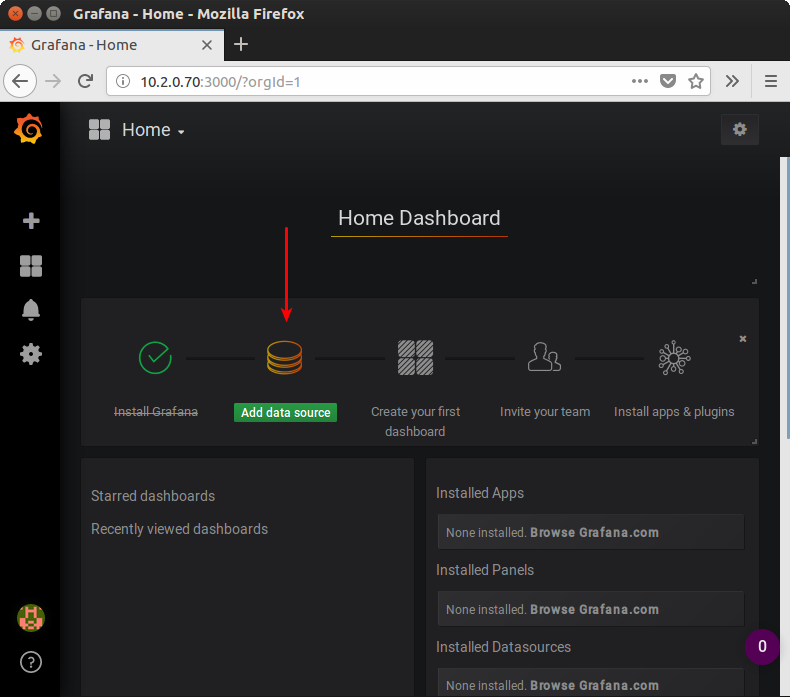
You will then be shown the home dashboard which shows your setup progress.

Add Data Source
Click on the item to add a data source.
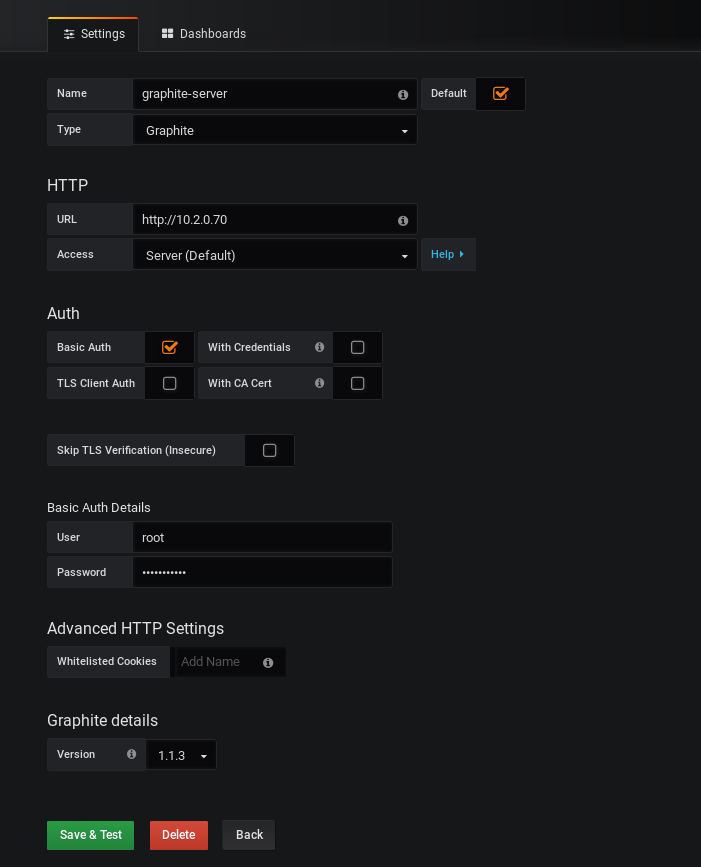
You will be shown a screen like below
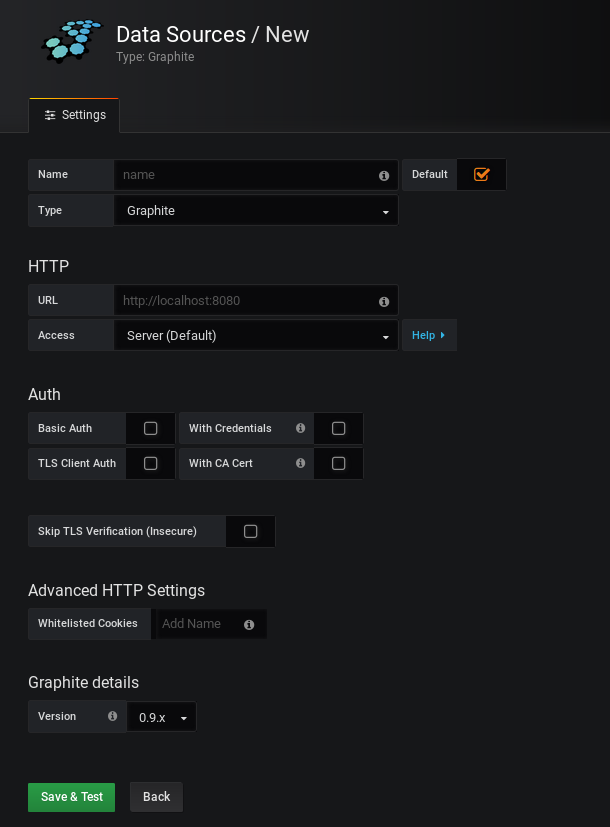
We will add our Graphite server from the previous tutorial, as our data source. Notice I used basic auth, and used the same credentials I used when I changed the login credentials on Graphite).
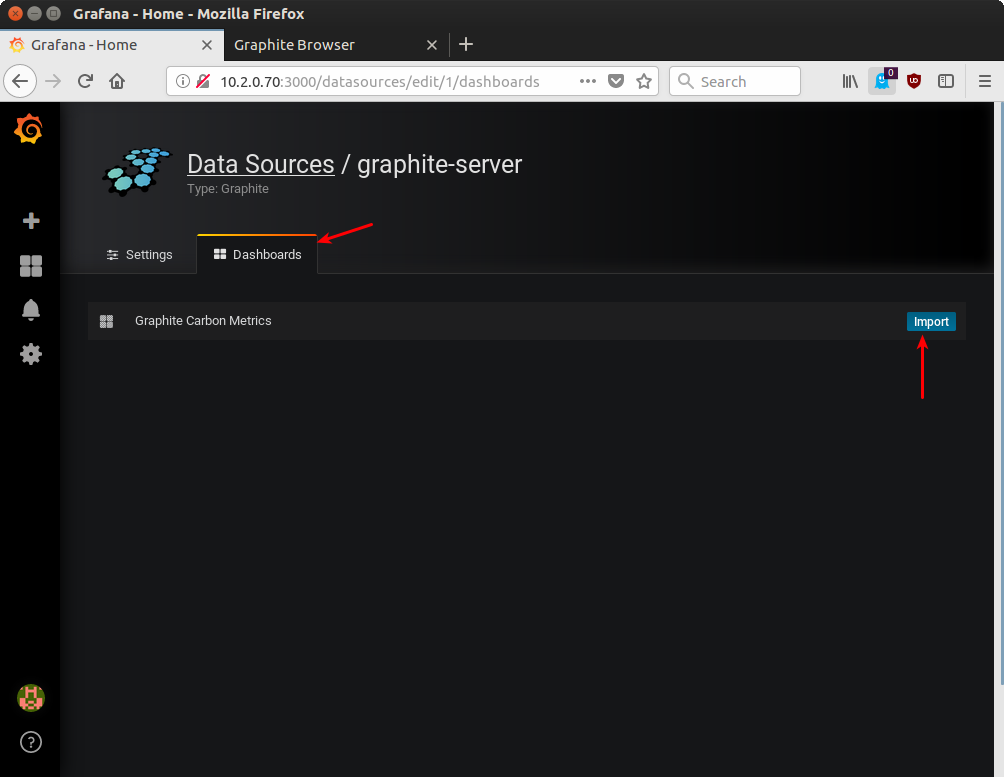
Adding A Dashboard
Click the dashboard tab and click the button to import the dashboard.
References
First published: 16th August 2018