Upgrade GL-AR150 to Stock OpenWRT
This tutorial will show you how to update OpenWRT on your GL-AR150 device, and install the Luci Essentials web UI.
Steps
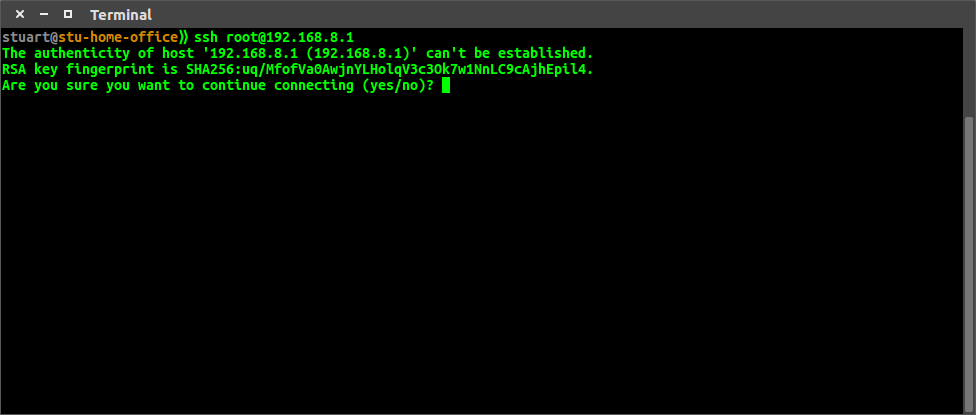
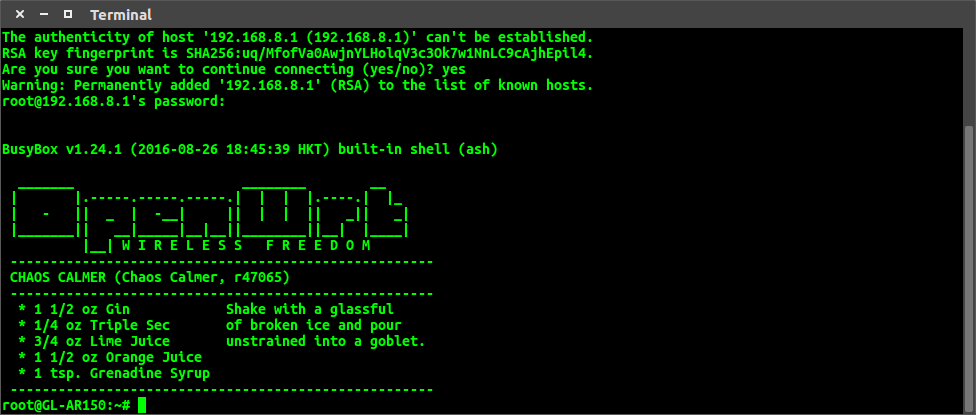
SSH into the device.
ssh root@192.168.8.1
The password was what was set in web UI when setting up the device.
Now download and run the upgrade file. The commands below use the correct version at the time of writing this tutorial, but you should go here and search for "gl-ar150" to find the appropriate file.
cd /tmp
wget https://downloads.openwrt.org/snapshots/trunk/ar71xx/generic/openwrt-ar71xx-generic-gl-ar150-squashfs-sysupgrade.bin
sysupgrade openwrt-ar71xx-generic-gl-ar150-squashfs-sysupgrade.bin
If Getting 400 Bad Request
I actually had problems downloading the file directly from the site using the device. In the end I had to use the IP address of the site rather than the hostname. I put this down to a problem with my DNS, but I'm putting this here in case you have the same issue.
Finishing the Upgrade
After the sysupgrade has run, the device will take a considerable time to restart and give out a Wifi connection. Also there will no longer be any web UI. Due to these factors I started to think that I had bricked the device, but just give it time. Eventually you will be able to SSH back into the device and also see a wireless signal.
Installing LuCI Essentials Web UI.
Lets install a web UI with LuCI essentials:
Run the following commands when you are connected to the device via SSH.
opkg update
opkg install luci
opkg install luci-ssl.
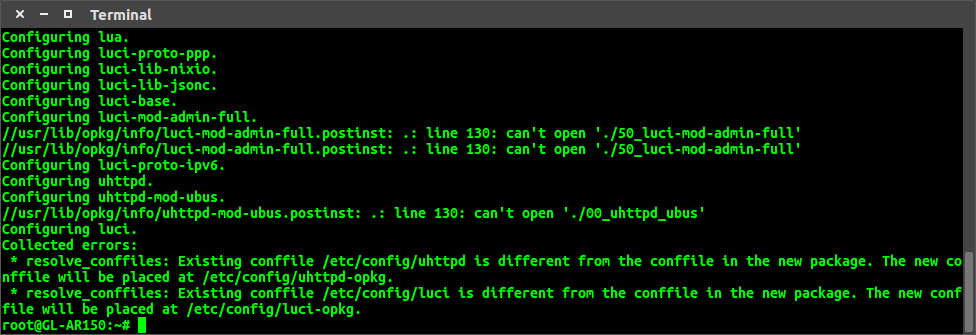
You may have noticed that there was a conflict with two of the configuration files. I decided to keep the package maintainer's version rather than what was there locally. To do this run the commands below to swap the files around.
cd /etc/config
mv luci luci.bak
mv luci-opkg luci
mv uhttpd uhttpd.bak
mv uhttpd-opkg uhttpd
Now you will have web browser at 192.168.8.1. You can log in with user root, and the same password you setup before. For now, you will not be able to access the web-ui from the wan port, only internally on 192.168.8.1.
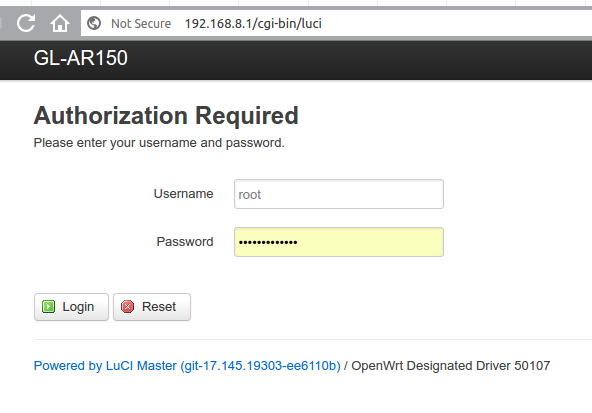 Login Screen
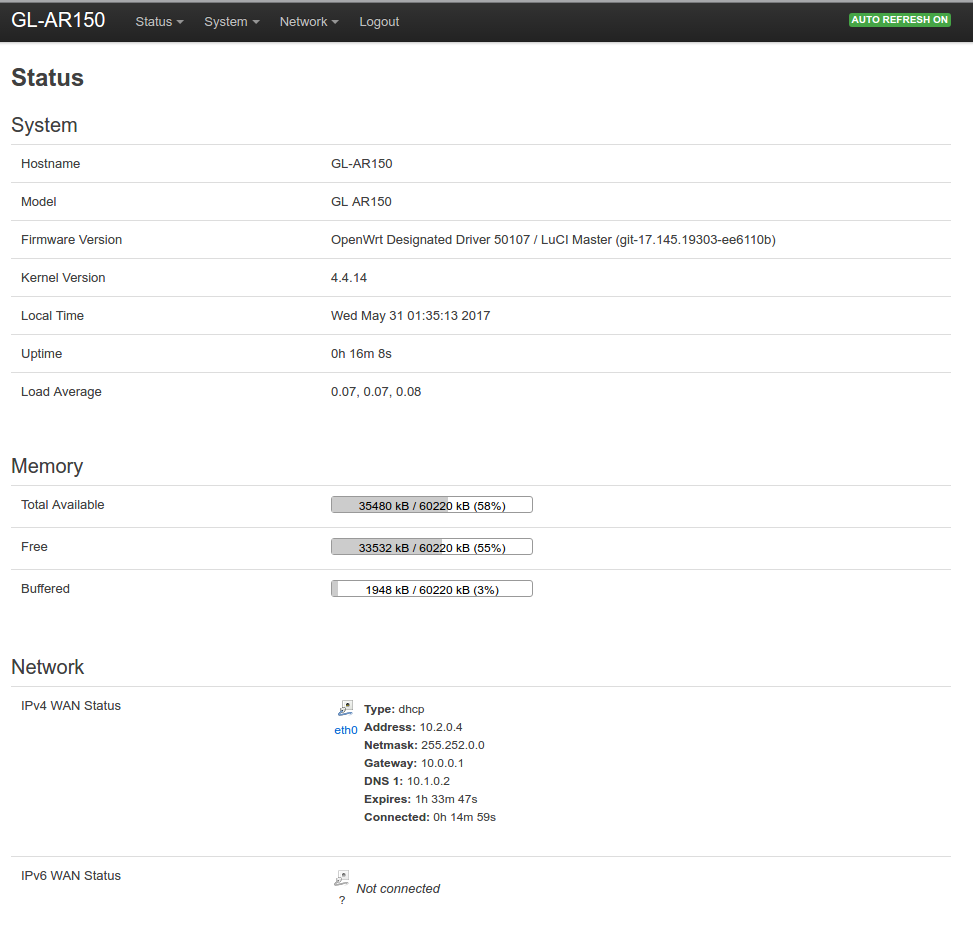 Main Menu
Conclusion
You now have an upgraded version of OpenWRT and the stock web-UI which is far more powerful. In future tutorials, I will focus on the things you can do with OpenWRT, such as have it route traffic through a VPN. If you forget your passwords then you can read my tutorial on resetting the device.
References
First published: 16th August 2018
