Webmin DNS - Create Address (A) Record
Address records are the most basic records which are the ones that you want to create/edit most of the time. They fulfill a very simple role of handling incoming requests that ask "Where do I go for www.mydomain.com?", and responding with the IP address that they need to go to. This is necessary because computers find other computers based on IP addresses, such as 192.168.1.1, whereas humans can only remember textual names such as www.facebook.com.
In this tutorial, I am going add an address record to say requests for blog.programster.org should go to my server's IP address at 178.62.94.209.
Prerequisites
Steps
The first thing we need to do is get to the area for editing our zone by navigating to the BIND DNS area and clicking on the zone we wish to edit.
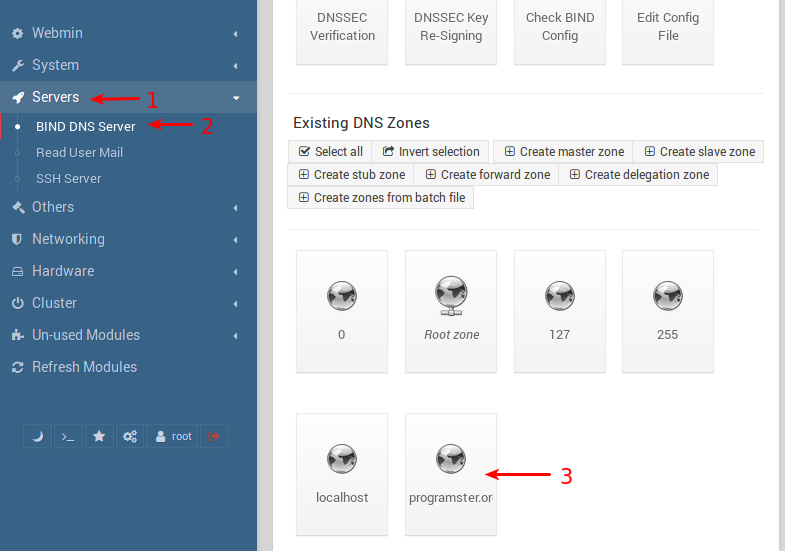
Click the Addresses button. Ignore the number which represents the number of address records it already has.

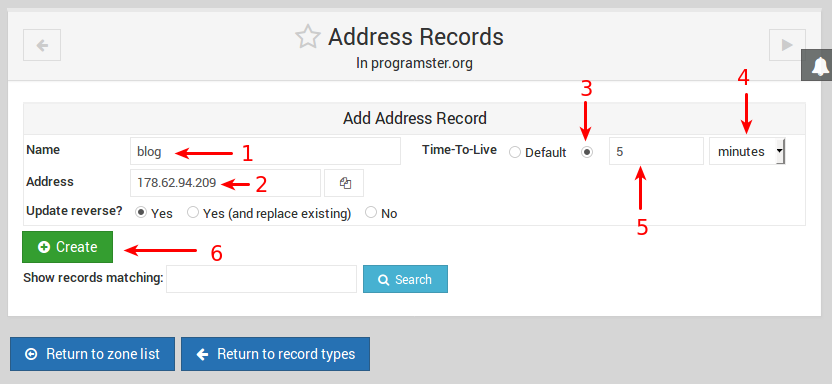
- Fill in only the subdomain without the domain. E.g. www instead of www.mydomain.com
- Fill in the IP address of where the address should point to.
- If you wish to manually set the TTL period, click the radio button before selecting the time units and filling in the number. I have set it to 5 minutes in this example, but you may wish to have it last much longer.
- Click the Create button to create the record.
You will now see your address record in the area below the form that was used to create the address. All the addresses will appear here in future.

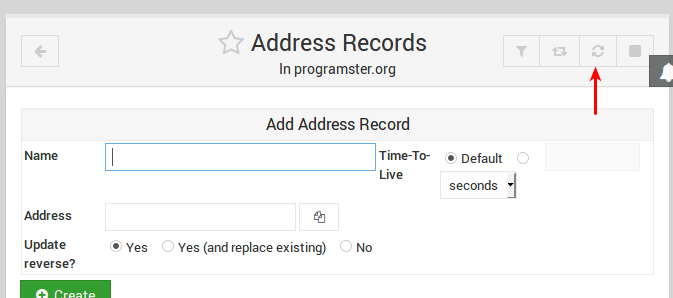
Annoyingly, the changes won't be immediately applied. One has to remember to click this button to apply the changes to have them take effect.
Testing
You can test that your DNS server is working by using the dig command like so (substituting for your own domain and BIND server hostname or IP):
dig my.domain.com @my-bind-server-IP-or-hostname
First published: 16th August 2018