Webmin DNS - Create Master Zone
If you are setting up a DNS server because you want to set up the nameserver that is the "authority" for the addresses for a domain that you own, then you need to create a "master zone" for that domain. Being a "master" means that this server is the authority for the domain that is being created. Other DNS servers should ask this server for the records when they don't know, or their time-to-live (TTL) caches have expired. You should only do this for domains that you own.
Steps
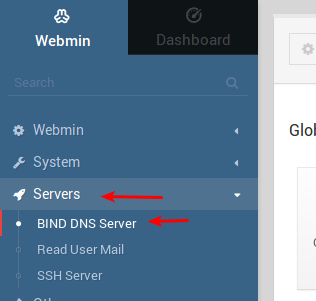
Click on Servers and then BIND DNS server in the navigation menu, to pull up the BIND DNS menu.
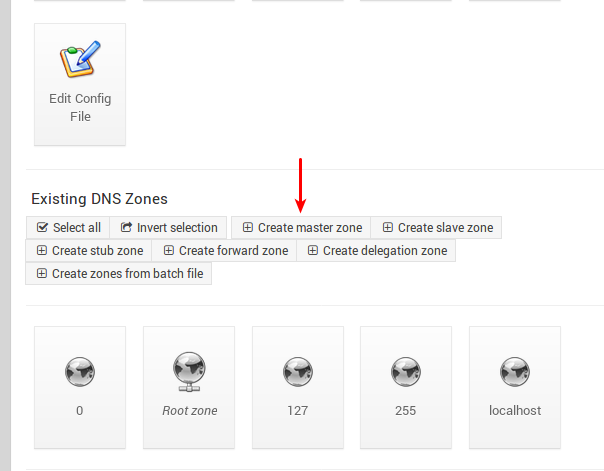
Scroll down the page and click on the Create master zone button.
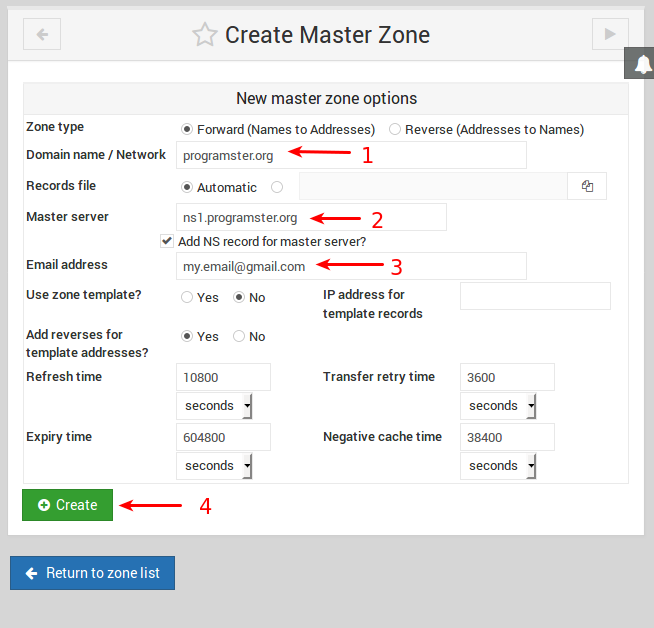
- Fill in the domain name with no subdomains. E.g. mydomain.com and not www.mydomain.com.
- The master server part should have auto filled correctly. This will be the hostname of the server you installed webmin on and are currently accessing. If this does not appear to be correct, you may wish to update your server's hostname.
- Fill in your email address. This will be the address when domain related actions need to happen. People may use this to verify that you own the domain etc, so don't fake it.
- Click the create button to create your new zone.
 .
.
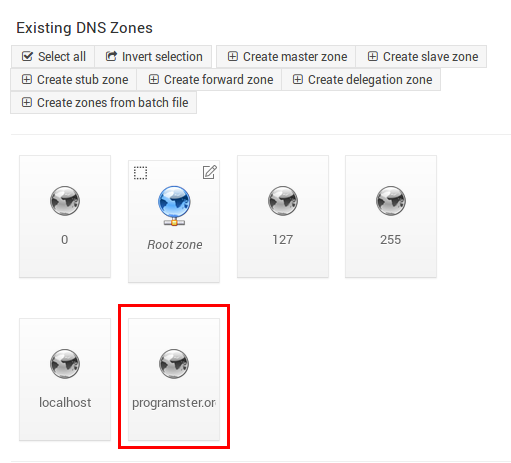
You should be taken to the menu page for managing that zone now, but we will cover this in later tutorials. If you go back to the BIND DNS server management area by clicking the menu options again...
... you should now see your new domain in the list of zones. In future, you will click on that button to go to the area to add DNS records for your domain.
Conclusion
You've now set up a master zone and are ready to add some DNS records for your domain.
First published: 16th August 2018