Webmin - Install Bind9 DNS Module
Steps
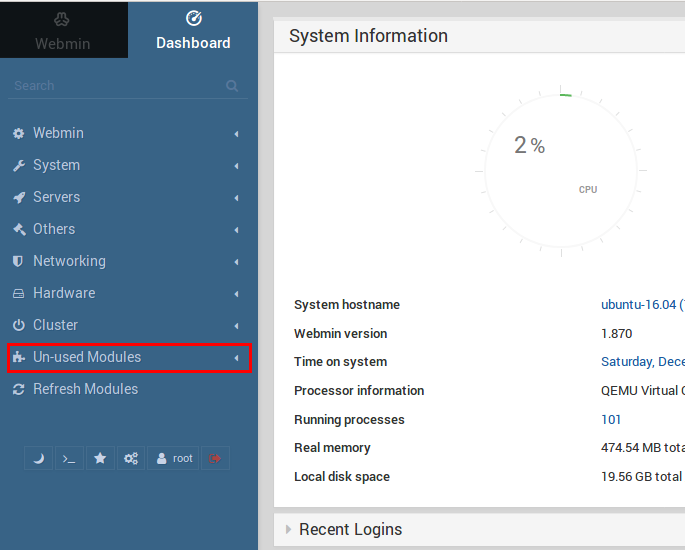
After having installed webmin, and logged in, click on the Un-used Modules menu item to expand it.
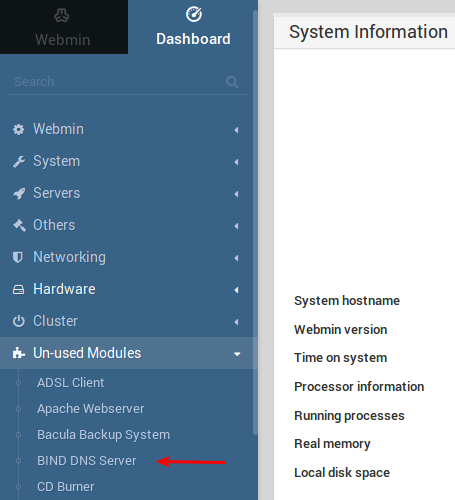
Click on BIND DNS Server.
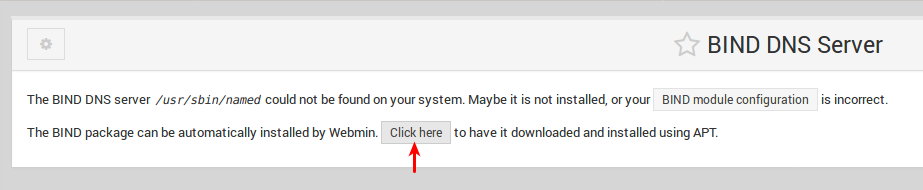
Click on the Click here button to install through APT.
After APT has finished installing you should see the following screen. Click the Return to BIND DNS Server button

In the navigation menu, click the Refresh Modules item.

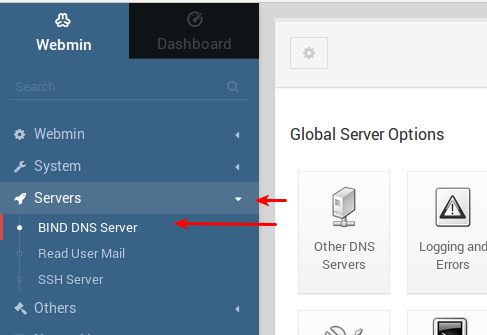
After the modules have refreshed, you should now see the BIND DNS Server option under System. If you click it you will go to the area to manage your BIND DNS server.
Conclusion
You've successfully installed BIND DNS on your webmin server. In future tutorials we will show you how to create a zone and create some A (address) records.
Last updated: 10th September 2024
First published: 16th August 2018
First published: 16th August 2018