Proxmox - Configure Automated Let's Encrypt Certificates Using HTTP Challenges
Proxmox always uses encrypted TLS communication between you and the web interface. However, it does this initially through the provisioning of its own custom TLS certificates that your browser won't trust. If your server is accessible from the internet (e.g not behind a NAT), then you can generate trusted TLS certificates from Let's Encrypt using the simple HTTP challenge, which this tutorial will walk you through.
Related Posts
- Proxmox - Generate Let's Encrypt Certs Using DigitalOcean DNS Challenge
- Proxmox - Use Custom SSL/TLS Certificates
Steps
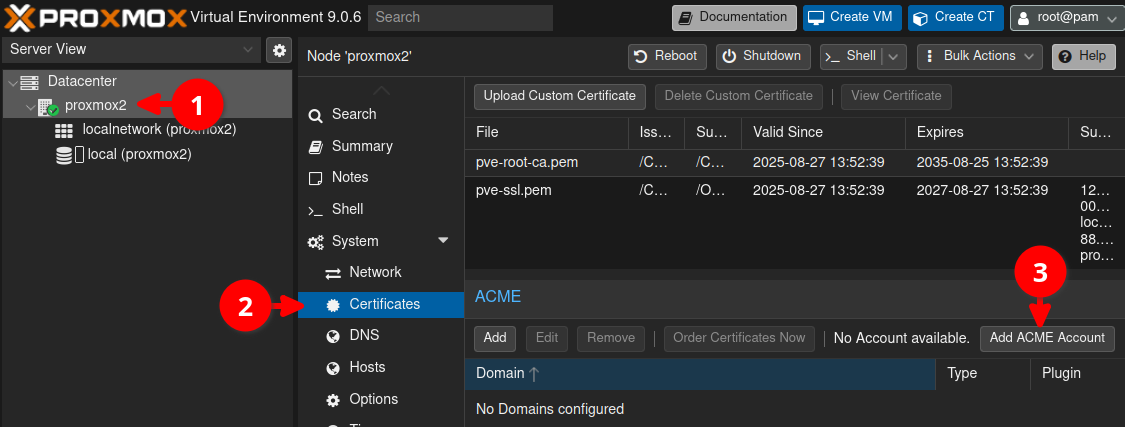
Click on your node (1), then Certificates, and then Add ACME Account.
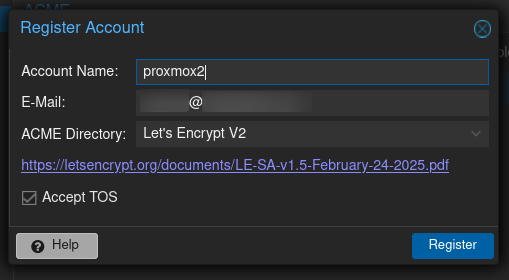
Add a name for the account, and enter an email address for your administrator before then clicking Register.
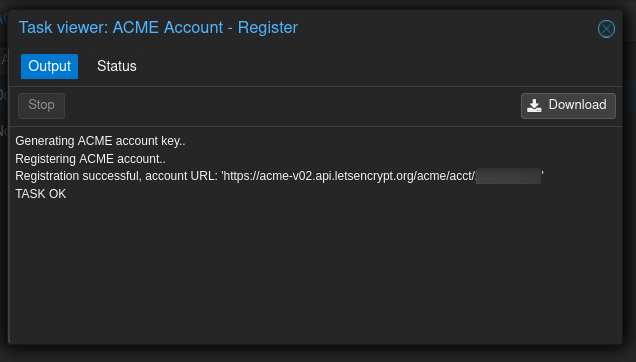
You should see output similar to below.
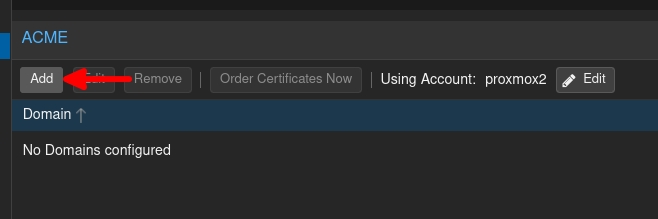
Now click on Add to add a domain.
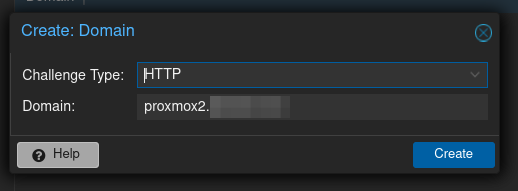
Leave the challenge type as the default of HTTP, and enter the full domain name that you access your Proxmox server on.
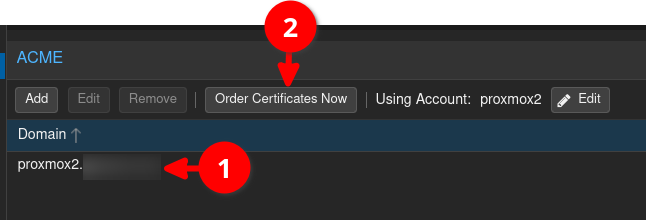
The domain you just entered should now appear in the list (1). Now click on Order Certificates Now to have Proxmox run the challenge, and refresh with your newly provisioned certificates.
Potential Firewall Issue
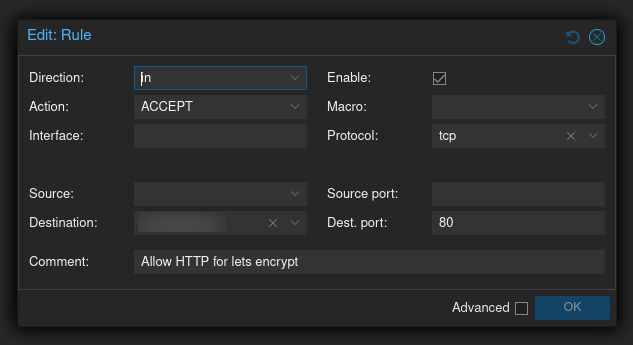
Let's Encrypt will need to reach your server on port 80. Thus you need to make sure that your firewall is configured to allow in port 80 on the Proxmox server's IP address/interface. This would be at the Detacenter level. Below is an example rule I added to allow Let's Encrypt through. You may or may likely wish to lock it down to the IP of your server, and possibly even the interface.
Conclusion
You should now have a Let's Encrypt certificate set up. Proxmox will automatically refresh these certificates, so
you do not need to worry about them expiring in three months.
First published: 31st August 2025