Proxmox - Configure Yubikey MFA Using WebAuthn
Introduction
Having 2FA/MFA set up really helps secure your Proxmox installation. I find the most convenient method is using my Yubikey, which means all I have to do is press a physical button, rather than lookup and enter a code manually. The best way to register your Yubikey, is through the modern WebAuthn protocol, which Proxmox supports, and this tutorial will show you how to do.
Requirements
WebAuthn relies on having valid TLS certificates in place. This also means that it may not be usable if your TLS certificates expire, or you experience a DNS issue if you are reliant on a private DNS setup. Thus, I would recommend setting up recovery keys as well on any system that sets this up.
Steps
First, we need to edit the /etc/pve/datacenter.cfg config file to add a line for webauthn. This is easily done by running the following in the CLI (be sure to set the fully qualified domain name (FQDN) of your server).
FQDN=proxmox.mydomain.com
sudo echo "webauthn: rp=$FQDN,origin=https://$FQDN:8006,id=$FQDN" | sudo tee -a /etc/pve/datacenter.cfg
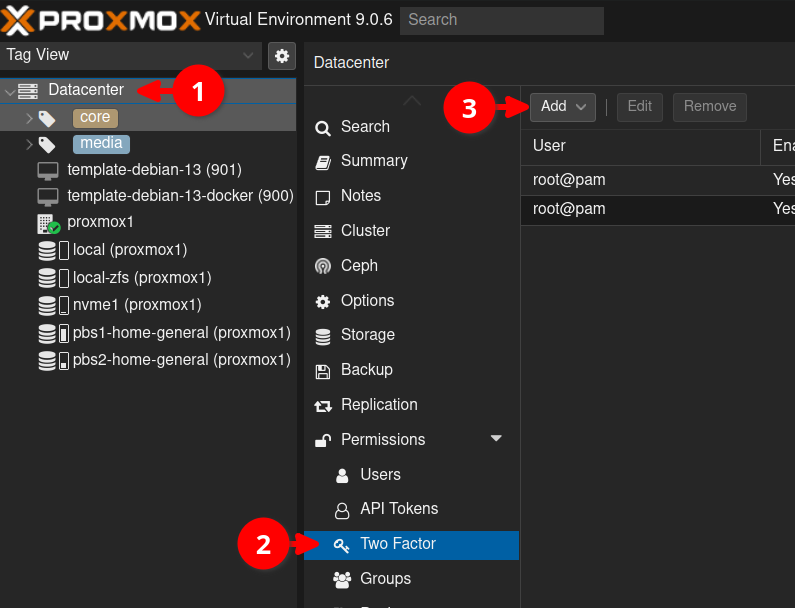
Click on Datacenter, then Two Factor and then Add.
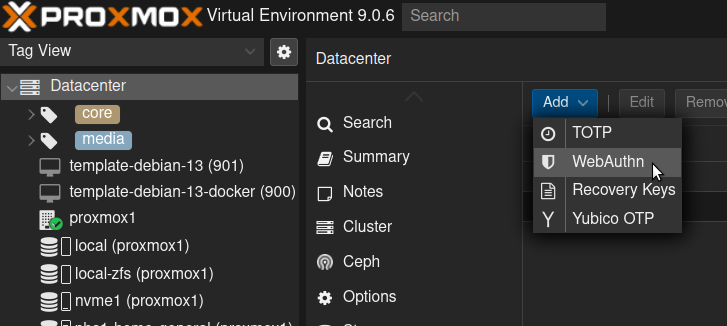
Then click on WebAuthn.
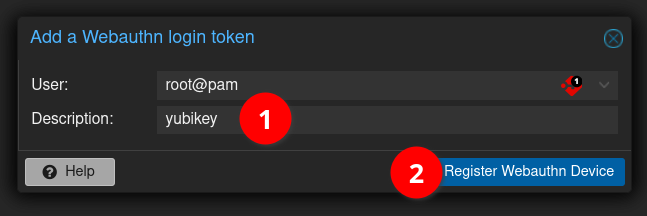
Add a description for it (1), before clicking the button to register your device.
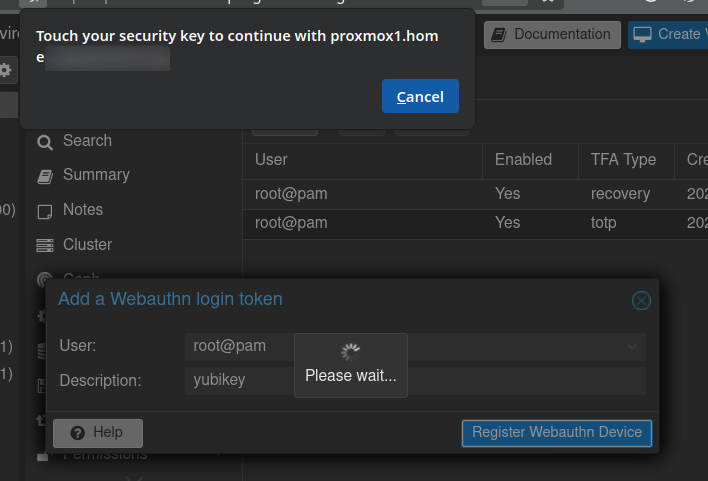
You will see a message pop up telling you to touch your security key, so now press on your Yubikey have it register.
Your Yubikey should now be registered. From now on, when you login, you will be prompted to tap your security key as shown below:
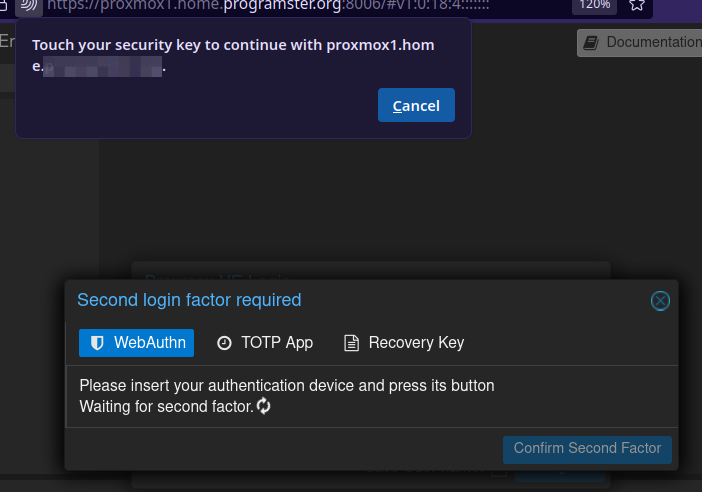
If you ever lose your Yubikey, you can use the other registered 2FA methods, such as a TOTP code or recovery key (if you have set them up).
References
First published: 31st August 2025